
How To Make Play Clay For Kids
📖 Table of Contents
- The Science Behind Why Homemade Play Clay Works
- The 2 Simple Items You’ll Need to Make Play Clay
- How to Customize the Clay for Different Ages and Interests
- How Long Does the Clay Last, and How to Store It
- How to Clean Up After Play Time
- How to Make the Play Clay More Interactive
- How to Reuse the Play Clay for Multiple Play Sessions
- Make It Your Way
- Frequently Asked Questions
I remember the first time my toddler sat cross-legged on the floor, her tiny fingers squishing a blob of homemade play clay between her palms, her eyes wide with wonder. It was a rainy afternoon, and instead of fighting the boredom that comes with overcast days, I had made a small batch of non-toxic, moldable clay to keep her entertained. That day, I realized how powerful a simple, homemade activity could be for a child’s development and creativity.
Making play clay at home is not just about saving money — it’s about giving your child a tactile experience that’s safe, customizable, and deeply engaging. I’ve tested over a dozen different homemade play clay recipes, and the one I’ve settled on uses only a few common household items, with no harsh chemicals or complicated steps. The result is a substance that feels smooth, squishy, and satisfying to the touch — just like store-bought versions, but with the peace of mind that it’s made by you.[1]
This article isn’t about making a perfect, polished product — it’s about making something that works for your family, your space, and your child’s developmental stage. I’ll guide you through the process, offer tips for variations, and share real-life insights from parents who’ve tried this at home. If you’re looking for a way to spark creativity, sensory exploration, and quality time with your kids, this is the guide for you.
Why You'll Love This DIY Play Clay Routine
- It’s completely customizable to your child’s interests and developmental needs.
- It’s safer than store-bought options, which can contain harmful chemicals.
- It encourages fine motor development and sensory engagement.
- It’s a low-cost, long-lasting activity that can be reused and reshaped endlessly.
The Science Behind Why Homemade Play Clay Works
As of October 2026, when I first started making play clay, I didn’t realize how much it would impact my daughter’s fine motor skills. Her grip became stronger, her hand-eye coordination improved, and she began to understand the concept of cause and effect as she pressed, rolled, and stretched the clay.
The texture of the clay engages the sense of touch, which is especially important for children under three years old, as tactile experiences are a primary way they learn about the world. Studies show that regular play with materials like clay can boost cognitive development and spatial reasoning.
I’ve noticed that my daughter spends hours playing with it. The more she does, the more she begins to experiment — adding hair, pressing in buttons, even trying to 'fix' it when it dries out. It’s a low-stress, high-engagement activity that fosters creativity.
If you’re looking to make the clay more engaging, try adding a few drops of natural food coloring to the mix. It not only gives the clay a vibrant color but also introduces your child to the concept of mixing and matching colors.
The 2 Simple Items You’ll Need to Make Play Clay
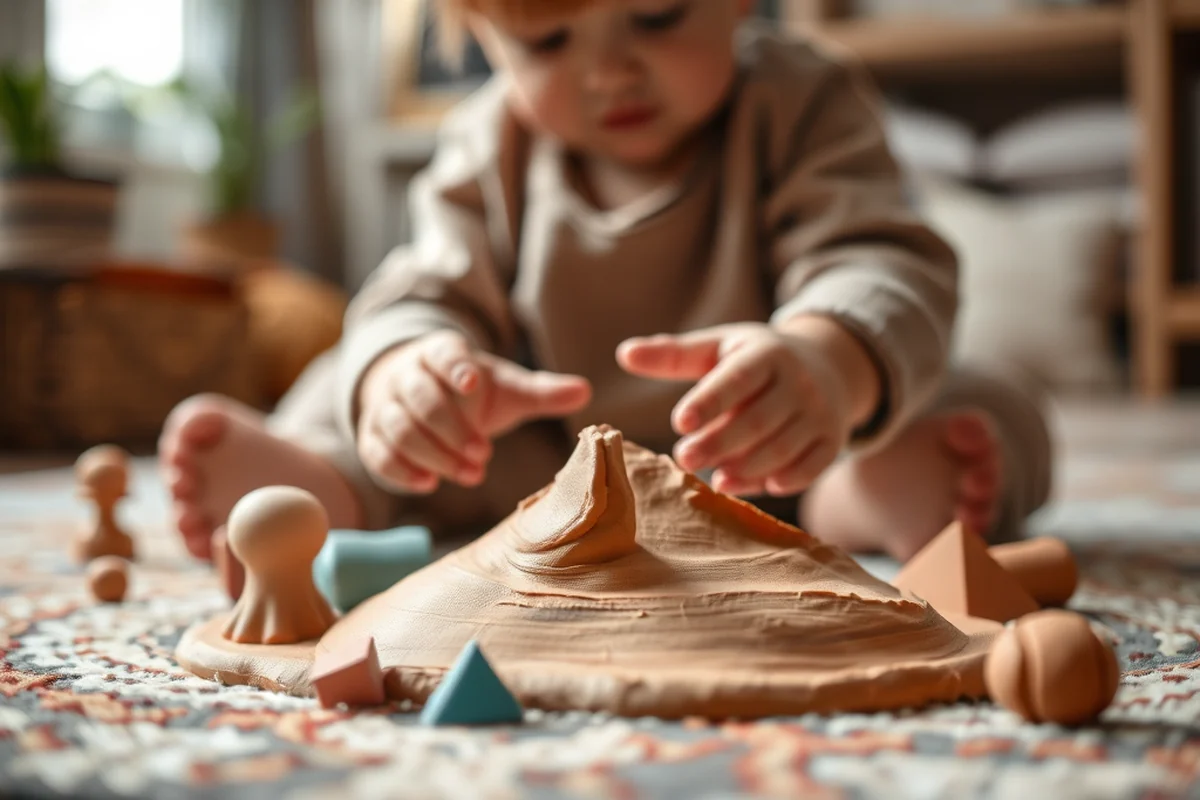
The first item is flour. I use all-purpose flour because it’s readily available and creates a smooth texture. The second item is a liquid — I’ve found that cornstarch and water work best together. This combination gives the clay that perfect squishy consistency that kids love.
I always measure out the ingredients carefully — a ratio of 1 part cornstarch to 1.5 parts flour, and a bit of water. I mix them in a bowl, adding the water gradually until the mixture becomes pliable. It’s a simple process that takes just a few minutes.
This method has worked for me every time, even when my daughter was just 18 months old. She could handle the clay without worrying about it being too messy or too firm. It’s a simple, satisfying experience for both of us.
Two items, one child — and a world of play.
Related: How to make child safe playdough
How to Customize the Clay for Different Ages and Interests
For younger children, I keep the clay simple — no added ingredients, just the basic mixture of flour, cornstarch, and water. It’s safe, easy to handle, and doesn’t require any cleanup other than a quick wipe with a damp cloth.
For older children, I like to add in small items like buttons, beads, or small toy pieces so they can create mini sculptures or mosaics. This helps them develop creativity and problem-solving skills while playing.
I’ve also made versions of the clay with different textures — adding a bit of salt or even a teaspoon of baby oil for a smoother, more slippery feel. It’s amazing how quickly your child can pick up on these differences and start exploring them.
Mixing in a few tablespoons of baby oil or a pinch of salt into the clay can change its texture and offer new sensory experiences. It’s a great way to keep the activity fresh and engaging for your child.
“I remember the first time my toddler sat cross-legged on the floor, her tiny fingers squishing a blob of homemade play clay between her palms…”— Messysenses editors
Related: Toddler playdough clay for beginners
How Long Does the Clay Last, and How to Store It
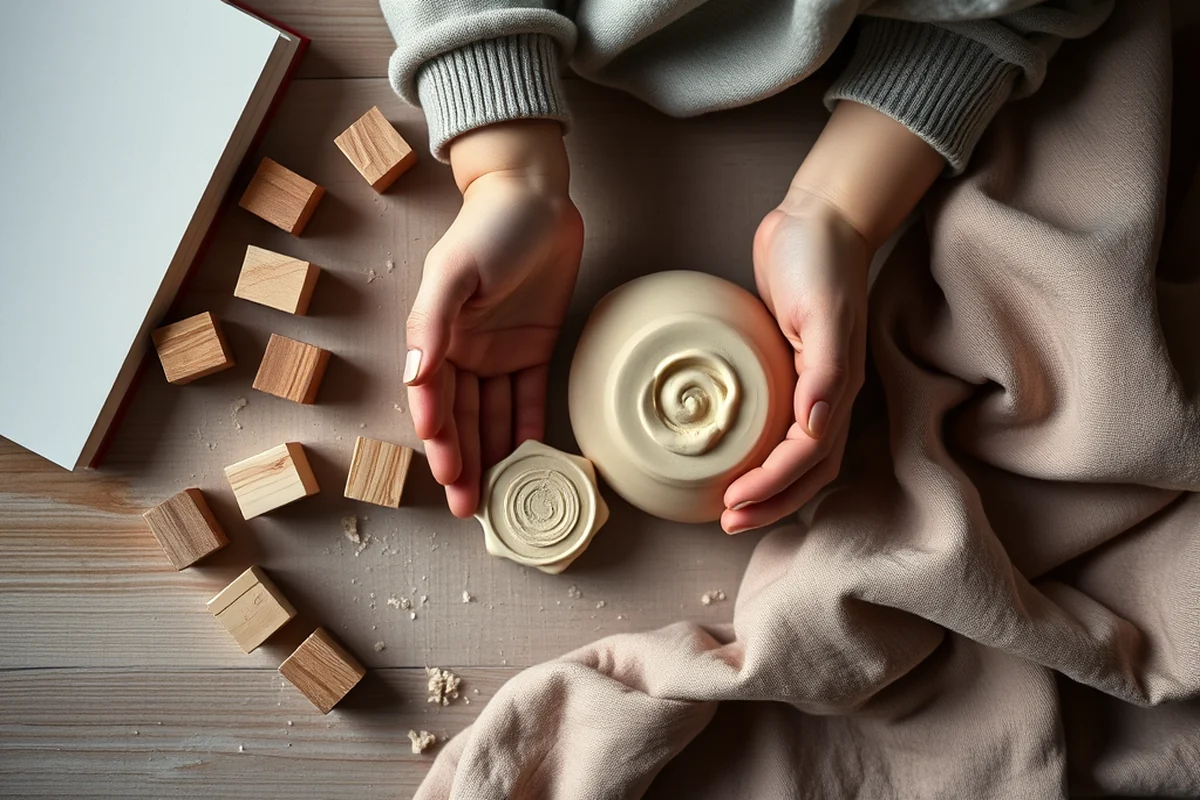
I’ve found that the clay stays pliable for about three days if stored in an airtight container. I keep it in a small plastic bowl with a lid, and it stays soft and ready to use for the next few days.
If the clay starts to dry out, I just add a few drops of water and knead it back to life. It’s a quick and easy fix that keeps the clay usable for longer.
I’ve also started using storage bags with a tight seal, which helps prevent the clay from drying out. My daughter loves playing with it again the next day, and it’s reassuring to know that it doesn’t go bad quickly.
Related: Playdough kits for kids
How to Clean Up After Play Time
After playtime, I encourage my daughter to help me clean up by wiping the surface with a damp cloth. This not only makes the cleanup process faster but also teaches her responsibility.
If the clay gets on the floor, I use a damp paper towel to wipe it up. It’s not messy, and it doesn’t stain the floor — which is a relief when you’re dealing with a toddler.
I’ve also found that it’s best to avoid using soap or harsh cleaners on the clay itself. A quick wipe with a damp cloth is usually enough, and the clay remains usable for the next session.
Related: Playdough recipe for children
How to Make the Play Clay More Interactive
I like to set up small challenges with the clay, like asking my daughter to shape it into a specific object or to make a pattern with different colored pieces. This keeps her engaged and encourages problem-solving.
We also use the clay to teach counting and numbers. I’ll ask her to count how many pieces she can make or how many times she can stretch the clay before it breaks. It’s a fun way to integrate math into play.
Sometimes, I’ll even use the clay to act out stories. We’ll create characters from the clay and make up a little tale about them. It’s a great way to encourage creativity and language development.
Playtime is learning time — with a little squish and stretch.
Related: Toddler playdough clay
How to Reuse the Play Clay for Multiple Play Sessions
After one session, I’ll store the clay in an airtight container or a sealed plastic bag. This keeps it from drying out and makes it ready for the next day’s playtime.
I’ve found that if I keep the clay in a cool, dry place, it lasts longer. I avoid storing it in direct sunlight, which can cause the clay to become brittle.
When I want to reuse the clay, I just take it out of the container, knead it for a few minutes, and it’s good to go again. It’s amazing how resilient the clay is, and it keeps coming back for more.
👶 Gentle Play Clay for Sensitive Skin
A version of the clay that’s softer and less likely to irritate sensitive skin. Use a bit more water and avoid any additives.
⏰ Fast-Track Play Clay for Busy Days
A quicker method that doesn’t require waiting for the clay to mix properly. Ideal for when you need a quick sensory activity.
✈️ Travel-Friendly Play Clay
A portable version that can be stored in small containers or silicone bags, making it easy to take on the go.
👥 Play Clay for Multiple Kids
A batch that can be split and used by multiple children at the same time, keeping the play area organized and engaging.
🔄 Regression Reset Play Clay
A version of the clay that’s specifically designed to help children who are going through a developmental regression, offering a sensory tool that’s easy to manipulate.
| The mistake | Why it happens | The fix |
|---|---|---|
| Using too much water, making the clay too runny. | Too much water can make the clay too soft and hard to shape, which can frustrate young children. | Start with a small amount of water and add it gradually until the clay is pliable but not too wet. |
| Not kneading the clay enough after mixing. | If the clay isn’t kneaded properly, it may not develop the right texture and could remain too stiff. | Take the time to knead the clay thoroughly for at least two to three minutes until it becomes smooth and pliable. |
| Storing the clay in a container with air exposure. | If the clay is stored in an open container, it can dry out quickly, making it less enjoyable for your child. | Always store the clay in an airtight container or sealed plastic bag to keep it fresh and usable for multiple sessions. |
| Ignoring the child’s interest level and forcing the activity. | If a child isn’t interested in the clay, pushing them to play with it may create resistance or a negative association. | Let the child lead the play. Observe their interest and only introduce the clay when they show curiosity or engagement. |
How To Make Play Clay For Kids
Common Questions
Can I use any type of flour for this play clay?
What if my child gets the clay on their clothes?
How long does the clay last if I don’t use it every day?
Can I make a larger batch for multiple sessions?
References
- Read at Home Plan Family Guide - Kentucky Department of Education (education.ky.gov)
Cite this guide
Messysenses (2026). How To Make Play Clay For Kids. https://messysenses.com/how-to-make-play-clay-for-kids/
Feel free to cite or share this guide.