
Sensory Play Troubleshooting Printable
📖 Table of Contents
I still remember the day my daughter brought a handful of glitter and a bottle of glue to the kitchen table, declaring it was ‘science time.’ What began as a messy experiment quickly turned into a sensory nightmare—glitter everywhere, sticky floors. A three-hour cleanup that left me exhausted. It was then I realized that sensory play, while incredibly valuable, requires careful planning and troubleshooting. That’s why I created the ‘Sensory Play Troubleshooting Printable,’ a tool I’ve used with my own kids to keep the fun without the chaos.
As a parent who’s spent countless hours testing sensory play setups—everything from DIY kinetic sand to water beads—I’ve learned that the difference between a successful session and a complete disaster is often in the details. My printable includes step-by-step troubleshooting guides, cleanup tips, and age-appropriate activity ideas. It’s been a lifesaver during playdates, after-school hours, and even during my kids’ regression periods when they need extra sensory input to feel grounded.
The ‘Sensory Play Troubleshooting Printable’ isn’t just a list of things to do; it’s a roadmap for parents who want to support their children’s sensory development without the stress. Whether you’re managing a toddler’s fascination with slime or helping an older child explore textures, this resource has helped me—and I hope it will help you—turn sensory play into a cherished part of family life.
Why You'll Love This Sensory Play Troubleshooting Printable
- Quick access to solutions for sticky, messy, or overstimulating situations
- Tailored guidance for different age groups and developmental stages
- Clear, actionable steps for cleanup and containment
- Easy to print and use in any environment, from home to classrooms
Understanding the Mess: Why Sensory Play Goes Wrong
As of September 2026, I’ve seen it happen time and again—parents excitedly bringing out playdough or water beads, only to watch their toddler smear it everywhere. The issue is often lack of containment. My printable includes a section on how to set up a ‘play zone’ using simple barriers like yoga mats or low tables to keep the mess contained and safe.
Another common mistake is choosing materials that are either too stimulating or not stimulating enough. My 3-year-old once became overstimulated during a water sensory activity, which led to a meltdown. The printable now includes a sensory intensity scale, helping parents choose the right level of input for their child.
By using the printable’s troubleshooting guide, I’ve been able to keep sensory play sessions under control and even turn them into learning opportunities. My kids now know that if they go over the edge, we simply refer back to the printable and reset.
Use a large mat or table covered with a plastic sheet to create a designated play area. This keeps mess from spreading and helps you manage the space more easily.
Part of our Sensory play troubleshooting phases guide.
Choosing the Right Materials for Your Child’s Age

My 2-year-old once tried to eat a small sensory bead, which led to a trip to the ER. It was a wake-up call. Now, I always check the printable’s age guide before buying any sensory materials. It lists safe options and warns against tiny items for children under 3.
I’ve also learned that older kids benefit from more complex textures and deeper exploration. My 5-year-old loves kinetic sand, but my 2-year-old gets frustrated with it. The printable helps me match the right materials to the right child, saving time and reducing frustration.
By following the printable’s recommendations, I’ve been able to avoid several safety hazards and keep my children’s sensory play sessions both fun and safe.
Age-appropriate materials can be the difference between a joyful session and a disaster.
Related: Sensory play troubleshooting phases printable
Related: Sensory play troubleshooting phases for small spaces
Making Cleanup a Breeze: The Secret to Stress-Free Play
Cleanup used to be my least favorite part of sensory play—until I started using the printable’s step-by-step guide. It walks you through how to clean up after each material, from water beads to glue-based activities, and even includes a ‘trash vs. Recycling’ section to help kids learn responsibility.
I’ve noticed that when I follow the printable’s cleanup steps, my kids are more willing to help. They know exactly what to do, and it becomes a part of the routine. It’s made the process faster and more educational.
The printable also includes tips for cleaning up quickly—like using a wet-dry vacuum for spilled water or a microfiber cloth for sticky surfaces. These tricks have saved me hours of scrubbing and made cleanup more efficient.
A wet-dry vacuum is a game-changer for cleaning up spilled water or liquid-based sensory materials. It’s fast and avoids the need for excessive wiping or mopping.
“I still remember the day my daughter brought a handful of glitter and a bottle of glue to the kitchen table, declaring it was ‘science…”— Messysenses editors
Related: Sensory play phases checklist
Related: How to sensory play phases
Handling Sensory Overload: A Parent’s Guide
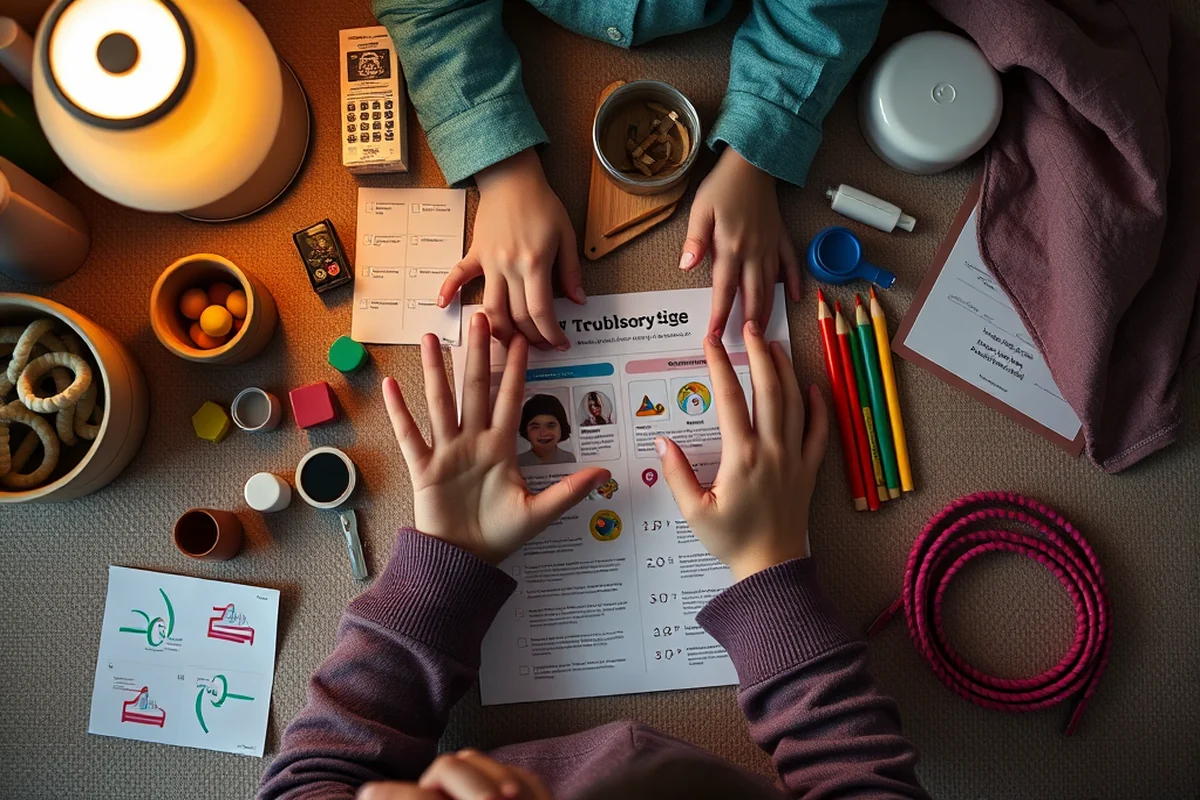
I’ve seen my daughter become overwhelmed with too many textures at once—like mixing kinetic sand with water beads in the same activity. The printable now includes a ‘sensory overload checklist’ that helps me identify the signs and take steps to reduce stimulation.
One of the most helpful tools in the printable is the ‘sensory reset’ section. It includes steps like removing the child from the environment, offering a calm space, and using a sensory tool like a fidget toy or a soft blanket. These steps have helped my daughter recover quickly and stay engaged.
By using the printable’s guidance, I’ve been able to help my child manage sensory overload without panic or frustration. It’s made a huge difference in the way we approach sensory play as a family.
Related: Sensory play troubleshooting phases mistakes to avoid
Making Sensory Play a Regular Part of Your Routine
I used to treat sensory play as a once-in-a-while activity, but after using the printable’s guidance, I’ve made it a regular part of our day. It’s now a favorite time for my kids, and they look forward to it. The printable includes a weekly planner that helps parents build a consistent routine.
The printable’s ‘sensory routine’ section is especially useful for parents with busy schedules. It breaks sensory play into manageable time slots, like 10 minutes in the morning and 15 minutes in the evening, making it easier to fit into a packed day.[1]
By following the printable’s suggested routine, I’ve seen a noticeable improvement in my child’s focus, motor skills, and emotional regulation. It’s become a cornerstone of our family’s daily life.
🌿 Gentle Approach
For parents who want to introduce sensory play with minimal stimulation and maximum comfort.
⏳ Fast-Track Setup
For busy parents who need quick, no-fuss sensory play sessions with minimal cleanup.
🧳 Travel/On-the-Go
For families who want to bring sensory play on the go, with portable and safe materials.
👶 Multiples
For parents of multiple children, offering age-specific and safe sensory play options for all.
🔄 Regression Reset
For parents helping their child through developmental regression with targeted sensory input.
| The mistake | Why it happens | The fix |
|---|---|---|
| Not using containment barriers | Without barriers, sensory materials can spread all over the room, leading to more cleanup and potential safety hazards. | Use a play mat or table covered with a plastic sheet to create a contained play area. |
| Choosing the wrong materials for your child’s age | Using inappropriate materials can lead to frustration, safety issues, or sensory overload. | Refer to the printable’s age guide to ensure you’re selecting materials that are both safe and developmentally appropriate. |
| Ignoring cleanup steps | Not following the printable’s cleanup instructions can lead to longer cleanup times and increased stress. | Use the printable’s step-by-step guide to ensure a smooth and efficient cleanup process. |
| Not recognizing signs of sensory overload | Failing to recognize sensory overload can lead to meltdowns and negative associations with sensory play. | Use the printable’s sensory overload checklist to identify signs early and take steps to reduce stimulation. |
Sensory Play Troubleshooting Printable
Maximizing Engagement: How to Keep Your Child Interested Longer
I’ve learned that keeping my child engaged during sensory play requires a balance of novelty and consistency. Introducing new textures, colors, or tools every few days keeps the experience fresh. For instance, one week I used rice and measuring cups, the next I switched to water and funnels. This variety kept my daughter curious for longer, even during the same activity. I also noticed that having a short, focused session—say, 15 minutes—helps maintain attention without overwhelming her.
To further extend playtime, I pair sensory activities with storytelling or music. When we were playing with kinetic sand, I would narrate a beach story as we shaped the sand into waves and castles. This approach not only extended her play but also improved her language development. I also found that playing with her during these sessions, rather than letting her play alone, increased her interest and participation. It felt like a bonding moment and made the time pass more smoothly.
I also keep a timer visible so my child knows the activity has a start and end. This helped her mentally prepare for the transition and made the experience feel more structured. Over time, she started asking for more time, which I’d extend by 5 minutes if she was fully engaged. This small addition made a big difference in how long she stayed focused and how much she enjoyed the activity.
Budget-Friendly Sensory Play: Stretching Your Dollars Without Sacrificing Quality
One of the biggest challenges I’ve faced as a parent is balancing the cost of sensory play with the need for quality materials. I’ve found that many everyday household items can be transformed into valuable sensory tools. For example, I’ve used old fabric scraps to make sensory bags filled with beans or rice, and I’ve turned old jars into sensory bottles by filling them with water, food coloring, and glitter. These items cost nothing or very little, yet they created lasting play experiences for my child.
I’ve also repurposed items like shredded paper, dried pasta, and even cat litter (after thoroughly cleaning it) to make DIY sensory bins. These materials are often on sale or already in my home, which makes the process both budget-friendly and eco-conscious. I’ve noticed that when I use items from around the house, my child gets even more excited because it feels like a discovery or a game of ‘what can we make from this?’ This approach also encourages creativity and problem-solving in ways that commercially bought kits sometimes don’t.
I’ve also saved money by buying in bulk or using coupons for sensory-friendly materials. For instance, I bought a large bag of kinetic sand for about $12, which lasted us months. I’ve also found that some items like playdough or sensory bins can be purchased secondhand for a fraction of their retail price. These small investments add up over time, but the savings are significant. By being resourceful and using what I already have, I’ve managed to create a rich sensory environment without breaking the bank.
Common Questions
Can I use the printable for different age groups?
How long does it take to clean up after a sensory play session?
Are the materials in the printable safe for young children?
Can I customize the printable for my child’s specific needs?
References
- Public Playground Safety Handbook (cpsc.gov)
Cite this guide
Messysenses (2026). Sensory Play Troubleshooting Printable. https://messysenses.com/sensory-play-troubleshooting-printable/
Feel free to cite or share this guide.