
How To Make Edible Paint For Cakes
📖 Table of Contents
- How to Make Edible Paint at Home
- Making Edible Paint for Kids' Parties
- Teaching Kids About Colors and Mixing
- Creating Custom Colors for Special Occasions
- Storing and Reusing Edible Paint
- Making Edible Paint for Travel or On-the-Go
- Getting Kids Involved in the Process
- Make It Your Way
- Frequently Asked Questions
As a parent who loves to get creative with cake decorating, I've spent countless hours trying to find edible paint that's both safe for kids and visually stunning. One day, while preparing a birthday cake for my daughter, I stumbled upon a method that not only worked but became a staple in our kitchen. It was a simple, non-toxic, and easy-to-make edible paint that transformed our regular cakes into edible art. This discovery was a game-changer, especially when we had to make last-minute birthday cakes or wanted to surprise our kids with something extra special.[1]
Edible paint for cakes is more than just a decorating tool—it's a way to engage children in the creative process, teach them about colors and textures. Even introduce basic science concepts like mixing and reactions. When I first started experimenting, I was amazed at how quickly my kids picked up on the idea of blending colors or using different tools to create patterns. It became a bonding activity that we could do together, and the results were always a hit at family gatherings and school events.[2]
What I love most about making edible paint is that it's not only fun but also incredibly flexible. Whether you're making a simple cupcake for a toddler or an elaborate tiered cake for a party, edible paint can help you add that personal touch. I've used it to create everything from tiny flower accents to intricate geometric designs, and each time, the excitement in my kids' eyes made it all worth it. It's a small but powerful way to bring creativity and joy into everyday moments.[3]
Why You'll Love This Edible Paint Method
- Safe for children and non-toxic
- Encourages creativity and learning through play
- Versatile for various cake types and occasions
- Easy to prepare and customize
How to Make Edible Paint at Home
As of October 2026, the first step is to gather your materials. You’ll need a few basic items that are easy to find. I use food-grade cornstarch and gelatin, both of which are safe for kids and easy to handle. You can find these in most supermarkets or online. I prefer to use gelatin because it gives the paint a smoother texture, which makes it easier for little hands to work with.[4]
Once you have your materials, you mix them in a bowl. I start with two tablespoons of cornstarch and add a few drops of food coloring. Then I mix in a small amount of gelatin, which helps the paint hold its shape. The consistency is just right—thick enough to not drip but thin enough to spread easily. It’s a great way to teach children about mixing and texture.
After mixing, I let the paint sit for a few minutes so it can set. Once it’s ready, I store it in a small container with a lid. I’ve found that keeping it in the fridge makes it last longer and keeps it fresh. This is a great activity for family time and a fun way to involve your kids in the process.
Using a small bowl helps keep the paint contained and makes it easier for little hands to manage. I always use a bowl with a lid to prevent messes and keep everything organized.
Making Edible Paint for Kids' Parties
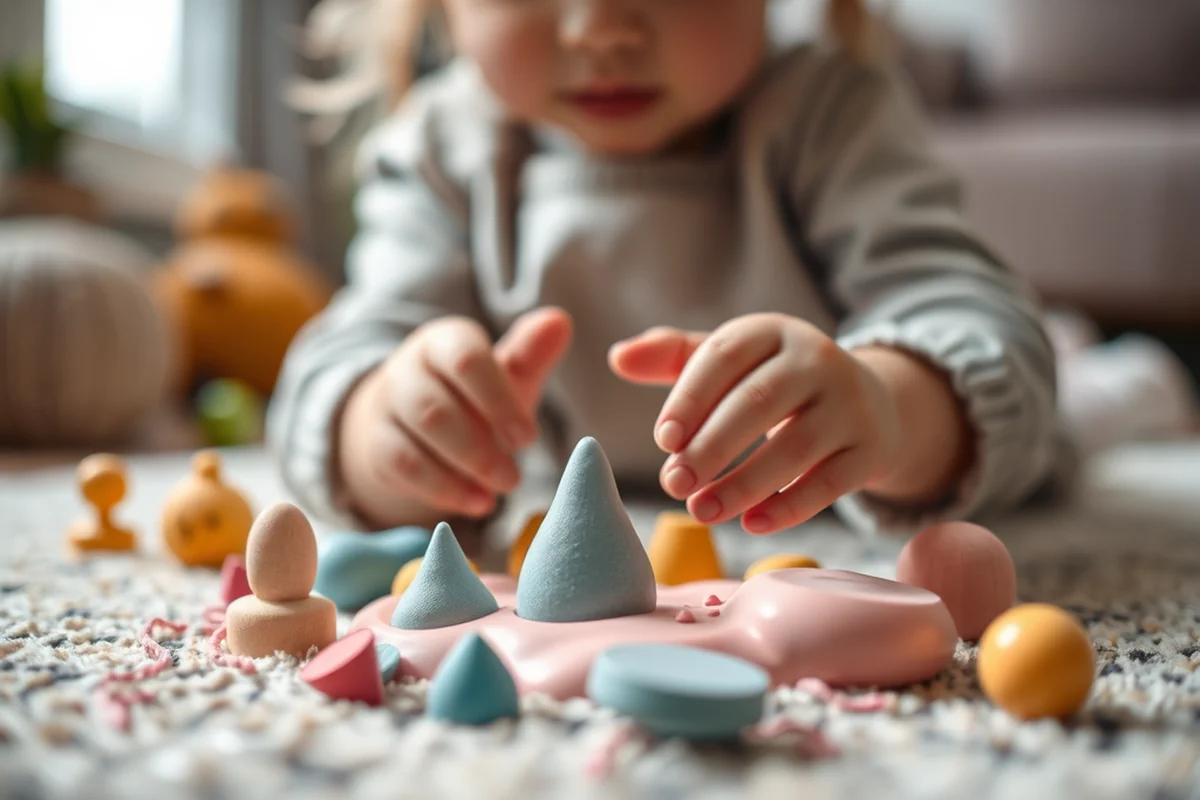
When preparing for a kids’ party, it's important to have a variety of colors available. I usually make a few different batches, each with a different food coloring. This allows the kids to choose their favorite colors and create their own designs. It’s a great way to encourage creativity and give them a sense of ownership over their work.
I also like to provide different tools for the kids to use, such as small paintbrushes and sponges. These are easy for little hands to handle and can be used to create a variety of textures and patterns. I've noticed that the kids get really excited when they see how their choices come to life on the cake.
Another tip is to set up a small station with all the materials. This makes it easy for the kids to work independently and keeps the mess contained. I've found that having a few extra materials on hand can be helpful, especially if the kids want to try something new.
Let the kids choose their colors and tools—creativity thrives when they have control.
Related: How to make edible plastic
Teaching Kids About Colors and Mixing
I love using edible paint as a hands-on way to teach my kids about colors and mixing. I start by showing them the basic colors and then let them experiment with mixing different combinations. This is a great way to introduce concepts like primary and secondary colors, and it’s always fascinating to see what new colors they come up with.
When we mix two colors, we often end up with a completely new shade. I’ve seen my kids get really excited when they discover that mixing red and yellow makes orange, or that blue and yellow make green. It’s a simple but powerful way to introduce basic science concepts.
I also like to use the paint to create patterns and designs. This helps the kids understand how colors can be combined to make more complex images. It’s a fun and educational activity that keeps them engaged for hours.
Starting with primary colors like red, blue, and yellow makes it easier for kids to learn about mixing. I always have these colors on hand and use them to introduce new combinations.
“As a parent who loves to get creative with cake decorating, I've spent countless hours trying to find edible paint that's both safe for kids…”— Messysenses editors
Related: Taste safe edible art materials for toddlers
Creating Custom Colors for Special Occasions
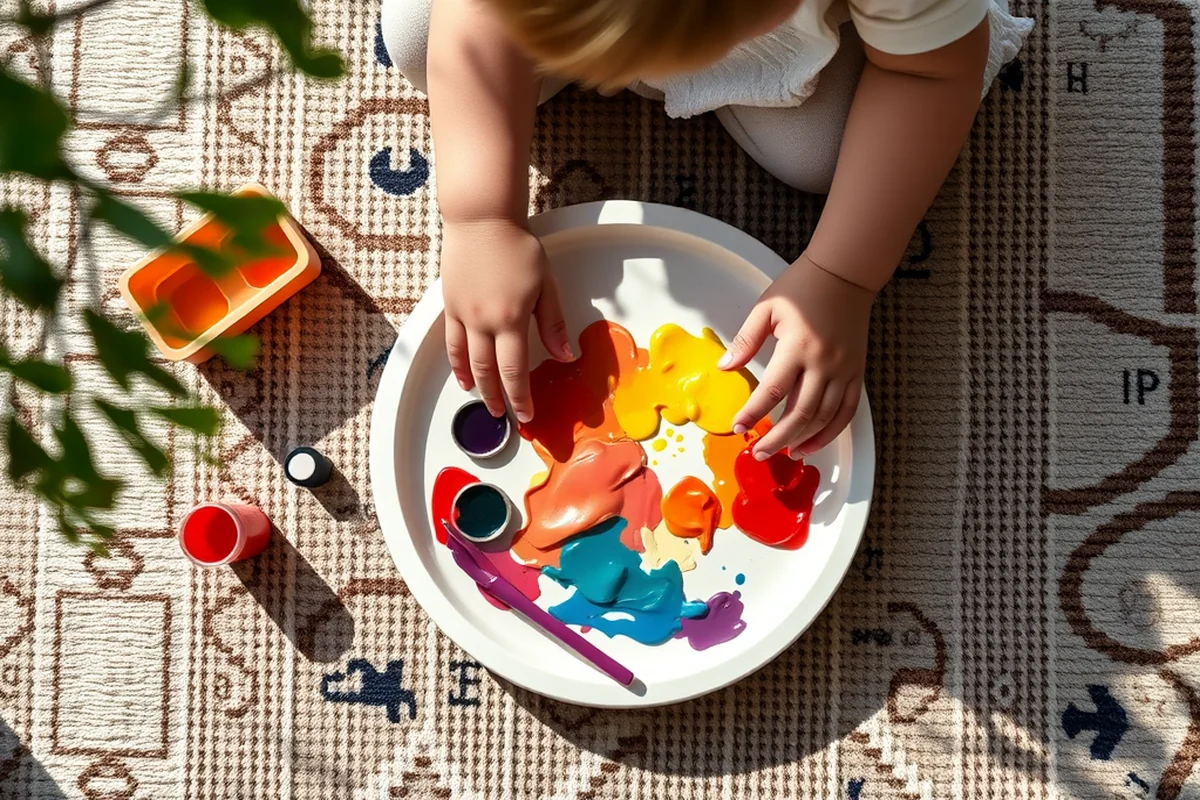
For special occasions like birthdays or holidays, I like to create custom colors that match the theme or the child's favorite things. This adds a personal touch and makes the cake feel more special. I’ve used colors that match the child's favorite superhero or favorite color, which always makes the cake more exciting for them.
I also like to use edible paint to create designs that reflect the occasion. For example, during Halloween, I use black and orange paint to create spooky designs, while for Easter, I use pastel colors to make the cake look festive. This helps the kids connect with the theme and makes the cake feel more like a celebration.
Creating custom colors also allows me to be more creative with the designs. I’ve made cakes with intricate patterns and even used edible paint to write names or messages on the cake. This is a great way to make the cake feel personal and special for the child.
Related: Edible food art for kids
Storing and Reusing Edible Paint
After making edible paint, I store it in small, airtight containers. This helps keep the paint fresh and prevents it from drying out. I’ve found that storing it in the fridge is the best way to keep it from hardening and to extend its shelf life.
When I’m not using the paint, I make sure to cover it tightly. This helps prevent it from picking up any odors or moisture from the air. I’ve also learned that if the paint starts to dry out, I can add a few drops of water and stir it gently to bring it back to the right consistency.
Reusing edible paint is a great way to save time and money. I often use leftover paint to create new designs or to decorate other cakes. This is especially helpful when I’m making multiple cakes for a party or when I want to use the same colors for different projects.
Related: Easy taste safe edible art materials
Making Edible Paint for Travel or On-the-Go
When we’re traveling, I like to bring a small kit with the basic materials needed to make edible paint. This allows me to create colorful designs even when I’m away from home. I’ve found that having a small container of cornstarch, gelatin, and a few food colorings is all I need to make the paint.
I also bring small tools like paintbrushes and sponges, which are easy to pack and use. These are great for keeping the kids busy during long car rides or flights. I’ve noticed that the kids love using the paint to create designs on napkins or paper, which keeps them occupied and entertained.
I’ve also found that making edible paint while traveling is a great way to teach the kids about colors and mixing. It’s a fun and educational activity that can be done anywhere, and it helps pass the time during long trips.
A little creativity goes a long way, even on the go.
Related: Taste safe edible art materials
Getting Kids Involved in the Process
I love involving my kids in every step of the process, from making the paint to decorating the cake. This helps them feel like they’re part of the creative process and gives them a sense of accomplishment. I’ve noticed that when the kids are involved, they’re more excited about the final result and take more pride in their work.
I also like to let them choose the colors and designs they want to use. This gives them a sense of control and helps them feel more connected to the project. I’ve seen my kids get really excited when they get to pick their favorite colors or choose the tools they want to use.
Involving the kids in the process also helps them learn about colors, mixing, and textures. It’s a fun and hands-on way to teach them about science and art, and it keeps them engaged for hours. I’ve found that when the kids are involved, the experience is more enjoyable for everyone.
👶 Gentle Approach
A slower, more hands-on method for very young children, using only the most basic materials and focusing on sensory exploration.
⚡ Fast-Track Method
A quick and easy way to make edible paint in minutes, perfect for last-minute cake decorating or when you're short on time.
✈️ Travel/On-the-Go Kit
A portable kit with pre-made ingredients and tools, designed for use during trips or when you're away from home.
🎁 Multiples Method
A way to make multiple batches of edible paint at once, ideal for parties, events, or when you're creating multiple cakes.
🔄 Regression Reset
A method to start over or reset the process if things don’t go as planned, helping you troubleshoot and adjust as needed.
| The mistake | Why it happens | The fix |
|---|---|---|
| Letting the paint dry out | If the paint dries out, it becomes difficult to use and may not work as well on the cake. | Store the paint in an airtight container and keep it refrigerated to prevent it from drying out. |
| Not letting the paint set properly | If the paint is used before it has set, it may not hold its shape and could smear or run. | Let the paint sit for a few minutes after mixing so it can set properly before using it. |
| Using too much gelatin | Too much gelatin can make the paint too thick and difficult to apply to the cake. | Use only a small amount of gelatin and adjust the consistency as needed by adding water or more cornstarch. |
How To Make Edible Paint For Cakes
Common Questions
What should I do if the paint is too thick?
How long can I store the edible paint?
Can I use food coloring that’s not meant for baking?
How do I clean up after using edible paint?
References
- (PDF) The Found Art of Paint Making A Comprehensive Guide to ... (academia.edu)
- Let Them Eat Cake: Edible Book Festival 2023 (apply.jhu.edu)
- Agriculture : USDA ARS (ars.usda.gov)
- Mary Virginia Langston – U.S. Department of State (art.state.gov)
Cite this guide
Messysenses (2026). How To Make Edible Paint For Cakes. https://messysenses.com/how-to-make-edible-paint-for-cakes/
Feel free to cite or share this guide.