
Children'S Mud Kitchen Ideas
📖 Table of Contents
- How to Set Up a Mud Kitchen in Your Backyard
- The Benefits of a Mud Kitchen for Early Childhood Development
- Choosing the Right Location for Your Mud Kitchen
- Creating a Sustainable Mud Kitchen for Long-Term Use
- Involving the Whole Family in the Mud Kitchen Experience
- Tips for Keeping the Mud Kitchen Clean and Organized
- Expanding the Mud Kitchen Experience with Themed Play
- Make It Your Way
- Frequently Asked Questions
When my daughter first dug her hands into the damp earth of our backyard, I knew we had stumbled upon something magical. That moment, with the squelch of mud between her fingers and the gleam of joy in her eyes, was the first time I realized the power of a children's mud kitchen. It's not just a place for playing; it's a space where imagination, creativity, and sensory exploration thrive. A mud kitchen can be set up in the most unexpected corners of your home — a corner of the garden, the edge of a driveway, even the back of a garage — and it can transform into an entire world for your child.
I remember how we spent hours that first week, building makeshift countertops from old wooden planks and collecting buckets from the garage for mixing and serving. The mess was inevitable, but the learning was profound. My daughter learned to measure out water and soil, to mix and blend, to clean up and start again. It wasn't about perfection; it was about the process, the experimentation, and the joy of discovery. A children's mud kitchen is more than just a play area — it's a learning ground, a place where the chaos of childhood becomes purposeful and meaningful.
Over the years, I've watched my daughter and her friends turn that small corner of the yard into a bustling restaurant, a construction site, and even a spa. The mud kitchen became a place where they could be chefs, architects, and artists. It taught them problem-solving, cooperation, and the beauty of getting their hands dirty — both literally and figuratively. If you're looking for a way to engage your child in hands-on, sensory-rich play that fosters creativity and independence, a children's mud kitchen might just be the perfect idea for you.[1]
Why You'll Love This Children's Mud Kitchen Idea
- Encourages sensory exploration and creativity in young children
- Promotes hands-on learning and imaginative play
- Provides a safe space for kids to experiment and make mistakes
- Fosters independence and problem-solving skills
How to Set Up a Mud Kitchen in Your Backyard
As of August 2026, Setting up a mud kitchen in your backyard is easier than you might think. I started with a few old wooden planks, some buckets from the garage, and a couple of pots to use as mixing bowls. I placed them near a tree where the sun was just right, and my daughter instantly knew what to do. She filled the buckets with water and mud, mixed them together, and declared it 'soup' for the day. The key is to give her the tools and let her take the lead — the rest will follow naturally.
I used old wooden pallets to create a countertop and added a few plastic chairs to make it look like a restaurant. I made sure the area was safe, with no sharp edges or dangerous materials. I also added a small table for serving and a few wooden spoons for mixing. It didn't take long to set up, and my daughter was already pretending to be a chef. The best part was that she invited her friends over the next day, and they all helped build and play together.
The cost was minimal, and the impact was huge. My daughter learned how to measure, mix, and clean up. It was a space where she could explore and experiment without fear of breaking anything or making a mess. I would recommend starting small and adding to it over time as your child's imagination grows.
Use what's already in your home — old planks, buckets, and pots can all be repurposed. It's not about the cost, it's about the creativity.
The Benefits of a Mud Kitchen for Early Childhood Development

Mud kitchens are not just for fun — they're an excellent tool for early childhood development. When my daughter was around three years old, she started mixing different textures of mud and water, trying to create the perfect 'soup'. She learned about consistency, color, and texture through trial and error. It was a natural way for her to explore her environment and understand cause and effect.
I noticed that her language skills developed more quickly after she started playing with the mud kitchen. She would describe what she was making, how it felt, and even ask questions about why certain mixtures worked better than others. It was like a science experiment, but it was all happening in the dirt. Her ability to think critically and solve problems was improving, and it all came from her own curiosity and experimentation.
The most unexpected benefit was her social skills. She started inviting her friends over to help her cook, and they would all take turns mixing, pouring, and serving. It taught them how to collaborate, how to take turns, and how to communicate effectively. It was a small space, but it became a big learning ground for her.
A mud kitchen is more than play — it's a classroom in the dirt.
Related: How to make a mud kitchen
Related: Mud kitchen outdoor art
Related: How to build a mud kitchen
Related: Outdoor mud kitchen for kids
Related: Mud kitchen for kids
Related: Spongebob Coloring Pages
Related: Dragon Coloring Pages
Related: Puppy Coloring Pages
Related: Mud Kitchen Activity Ideas
Related: My Little Pony Coloring Pages
Related: Heart Coloring Pages
Related: What Should I Draw
Related: Mud Kitchen Ideas For Kids
Related: Mud Kitchen Resource Ideas
Related: Painting Ideas For Children
Choosing the Right Location for Your Mud Kitchen
Choosing the right location for your mud kitchen is important. I picked a spot near our backyard fence where the sun was good and the ground was flat enough to build on. It had to be safe for my daughter — no sharp rocks or broken glass. I also made sure the area was easy for her to access, so she didn't have to climb over anything to get to her 'restaurant'.
I avoided areas that were too close to the house, as the mess could be more difficult to manage. I also made sure there was enough space for her to move around and play freely. The location needed to be near a water source, like a hose or a garden tap, so she could easily fill up her buckets. It also had to be near a place where we could clean up quickly if needed.
I found that a location near a tree or a bench was ideal, as it gave her a natural backdrop and a place to sit. The sun was a bonus too — it made the space feel warm and inviting. It didn't take long for her to claim that area as her own. She would often be found there for hours on end, pretending to be a chef, a scientist, or even a construction worker.
Make sure your mud kitchen is in a safe, flat, and easily accessible location. It should be near a water source and close to where you can clean up quickly.
“When my daughter first dug her hands into the damp earth of our backyard, I knew we had stumbled upon something magical.”— Messysenses editors
Creating a Sustainable Mud Kitchen for Long-Term Use
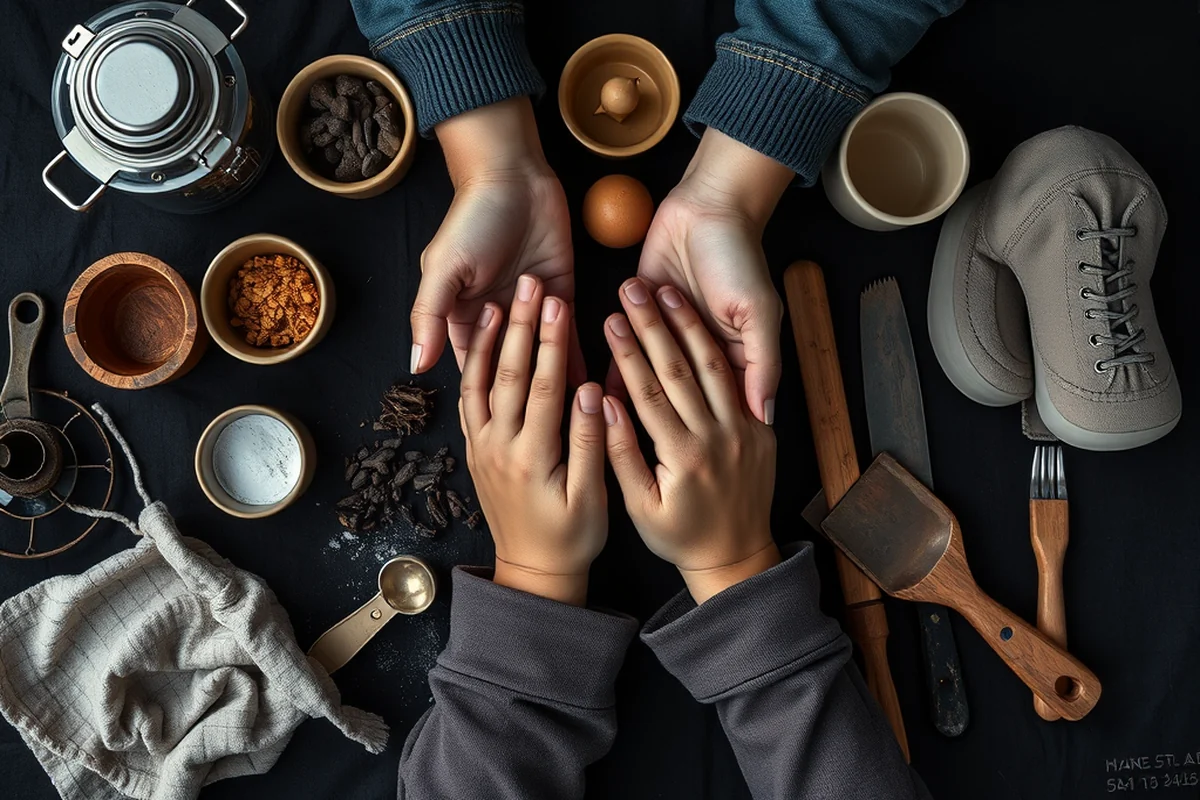
Creating a sustainable mud kitchen requires a bit of planning, but it's well worth the effort. I used pressure-treated wood for the countertop and buckets made of durable plastic. These materials were chosen for their resistance to the elements and their ability to withstand repeated use. I also added a small shelter made from an old tarp to protect the area from rain and wind.
I made sure to clean the area regularly to prevent the buildup of mold or bacteria. I used a hose to rinse the countertops and buckets after each play session and stored the tools in a dry place. I also avoided using any materials that could break easily or pose a safety risk. Over time, the mud kitchen became a fixture in our backyard, and it was used by my daughter and her friends almost every day.
The sustainability of the mud kitchen wasn't just about the materials — it was also about the way we used it. We made sure to rotate the play area so that the ground didn't get too compacted. We added new elements like wooden spoons, mixing bowls, and even a small menu board to keep the experience fresh and exciting for our children.
Involving the Whole Family in the Mud Kitchen Experience
Involving the whole family in the mud kitchen experience was one of the most rewarding parts of the process. I would often join my daughter in the kitchen, helping her mix and pour, and even pretending to be a customer. It was a way for us to bond, and it gave her a sense of confidence in knowing that her parents were there to support her.
My husband would sometimes take over the role of the chef, and he would make up silly recipes that we would all pretend to eat. It was a way to encourage creativity and imagination, and it made the experience more fun for everyone. The kids would often invite their parents to join in, and it became a way for us to connect and have fun together.
I found that the more we participated, the more my daughter would take the lead and teach us what she was making. It was a wonderful way to encourage her leadership skills and to show her that her ideas were valued. The mud kitchen became more than just a play area — it was a place where we could all come together and have fun.
Tips for Keeping the Mud Kitchen Clean and Organized
Keeping the mud kitchen clean and organized is an important part of the experience. I made it a habit to clean up after each play session, wiping down the countertops and rinsing the buckets. I also used a small tarp to cover the area when we weren't using it, which helped to keep the tools dry and protected from the elements.
I found that using a designated storage area for the tools was helpful. I kept the buckets, spoons, and mixing bowls in a small shed near the kitchen, so they were always within reach. I also used a small bucket of water and a hose to quickly rinse off any messes before they had a chance to dry and become a problem.
I also made it a point to rotate the tools and materials every few weeks, adding new items to keep the experience fresh and exciting. This helped to keep the mud kitchen from becoming too repetitive and ensured that the children always had something new to explore and play with.
A little cleanup goes a long way in making a mud kitchen enjoyable for everyone.
Expanding the Mud Kitchen Experience with Themed Play
Themed play is a great way to keep the mud kitchen experience fresh and exciting. I would often create different themes, such as a 'restaurant day' or a 'construction site day', and I would change the setup accordingly. I would add new tools, like plastic tongs or mini excavators, and I would even create a menu board for the restaurant days.
My daughter loved the themed play, and she would often ask me to set up a new theme each week. It kept her engaged and gave her a sense of structure and purpose in her play. The themes also allowed her to explore different roles and responsibilities, which helped to develop her social and problem-solving skills.
I found that themed play also encouraged her to be more creative and imaginative. She would come up with new ideas for the themes, and she would often invite her friends over to join in. The themed play became a way for her to explore different parts of her personality and to express herself in a fun and safe environment.
🌱 Gentle Start
Begin with a small setup using natural materials like sticks and stones, allowing your child to explore slowly and safely.
⏱️ Fast-Track Setup
Use ready-made kits or repurpose items quickly to create a mud kitchen in under an hour with minimal effort.
🧳 Travel/On-the-Go
Pack a portable mud kitchen kit with lightweight items like small buckets and portable tables for play at parks or on trips.
👯♀️ Multiples Play
Design a mud kitchen that accommodates multiple children with separate workstations and shared tools for collaborative play.
🔄 Regression Reset
Revisit the mud kitchen with a fresh setup to help children reset their play patterns and rediscover the joy of exploration.
| The mistake | Why it happens | The fix |
|---|---|---|
| Using unsafe materials | Sharp or broken items can cause injury, and certain materials may not be safe for children to use. | Use only durable, child-safe materials and avoid anything that could break easily or pose a safety risk. |
| Not involving the child in the setup | This can make the child feel disconnected from the experience and reduce their engagement. | Involve your child in the setup process and let them choose the materials and tools they want to use. |
Children'S Mud Kitchen Ideas
Common Questions
What materials do I need to set up a mud kitchen?
How can I make the mud kitchen safe for my child?
What age is a mud kitchen suitable for?
Can a mud kitchen be used indoors?
References
- Observations of Children's Interactions with Teachers, Peers, and ... (pmc.ncbi.nlm.nih.gov)
Cite this guide
Messysenses (2026). Children'S Mud Kitchen Ideas. https://messysenses.com/children-s-mud-kitchen-ideas/
Feel free to cite or share this guide.