
Easy Diy Mud Kitchen
📖 Table of Contents
I remember the first time my daughter grabbed a handful of soil and started making 'cake' in the garden. It was messy, but it was also magical. I had no idea that this spontaneous, earthy play would become a cornerstone of our family's daily routine — a simple, easy DIY mud kitchen that we built with just a few items from around the house. This isn’t just a place for kids to dig in the dirt; it’s a space where creativity, sensory exploration, and unstructured learning come together in the most natural way.[1]
Creating an easy DIY mud kitchen isn’t about buying expensive kits or following complicated instructions. It’s about repurposing what you already have and allowing your child to explore the world in their own way. Whether it’s a corner of the backyard, a spot in the garage, or even a small area on the patio, this kind of play encourages independence, imagination. A deep connection with the earth — all while keeping your home (and your sanity) intact.[2]
This project is not only affordable and easy to set up, but it also provides a unique opportunity to foster your child’s development. I’ve watched my daughter grow in confidence, problem-solving skills, and curiosity, all while playing in the mud. The key is to keep it simple, open-ended, and fun — and that’s exactly what I want to share with you here.[3]
Why You'll Love This Easy DIY Mud Kitchen
- Encourages unstructured, imaginative play
- Promotes sensory development and motor skills
- Requires no special equipment or expensive materials
- Offers a safe, open-ended space for exploration
Getting Started: What You’ll Need
As of August 2026, the easiest way to start is by finding a small, enclosed area in your yard or home. You can use a corner of the garage, a patch of grass in the backyard, or even a large container on your patio. I used a small section of our backyard that was already shaded by a tree, which helped keep the area cooler during the day.
I brought out a few old buckets and containers that we no longer use. My daughter filled them with water and soil, and we used old pots, pans, and bowls to act as ‘cooking’ tools. This setup took about 20 minutes and only required a few items from our storage area.
One thing I learned early on was that this space should be flexible. We started with a few items and added more over time — like wooden spoons, small brushes, and even a couple of plastic animals for pretend cooking. This allowed for continuous creativity without overwhelming the space.
Begin with a few basic items and let your child’s imagination guide the rest. Over time, you’ll find that the space naturally evolves to suit their interests.
The Benefits of Mud Play

I’ve noticed that mud play helps my daughter develop her fine motor skills, hand-eye coordination, and even language skills as she describes what she’s creating. She learned to mix different textures, experiment with volume, and even began counting as she measured out portions of ‘mud’ for her ‘baking’.
The sensory experience of working with mud is incredibly stimulating. It’s a different texture than sand or water, and it helps her understand how things feel, move, and interact with the world. It’s also a great way for her to explore concepts of wet and dry, hard and soft, and even the idea of mixing different materials together.
I’ve also seen her become more confident in her decision-making. She decides what to build, what to mix, and even how to present her creations. This kind of unstructured play is a goldmine for problem-solving and creativity.
Mud is not just a mess — it’s a lesson in texture, creativity, and exploration.
Related: How to mud kitchen outdoor art
Related: Ideas for mud kitchen
Related: Children s mud kitchen ideas
Related: Outdoor mud kitchen for kids
Related: Mud kitchen for kids
Related: What Is Easy Things To Draw
Related: What Is Color Sheets
Related: Mermaid Coloring Pages
Related: A Cute Axolotl Coloring Page
Related: Puppy Coloring Pages
Related: Mud Kitchen Near Me
Related: Making A Mud Kitchen
Related: How To Build A Mud Kitchen Videos
Setting the Rules: Safety and Boundaries
I made a simple rule: no one can bring food into the mud kitchen. This helped ensure that we didn’t mix real food with the mud, which could be unhygienic and confusing for the kids. I also made sure to set clear boundaries about where the play could happen — a specific area in the backyard or garage to keep the mess contained.
We also made a rule about cleaning up after themselves. My daughter learned to wash her hands before and after playing, and we used a small bucket of water and soap to clean the area regularly. This kept the space clean and made it easier for the next round of play.
One of the most important rules we established was to always have an adult nearby. Although the space was designed to be independent, I wanted to make sure that my daughter could feel safe and supported as she explored her creativity.
Establish clear, simple rules to ensure safety and organization, but be open to adjusting them as your child grows and their needs change.
“I remember the first time my daughter grabbed a handful of soil and started making 'cake' in the garden.”— Messysenses editors
What to Do When It Gets Too Messy
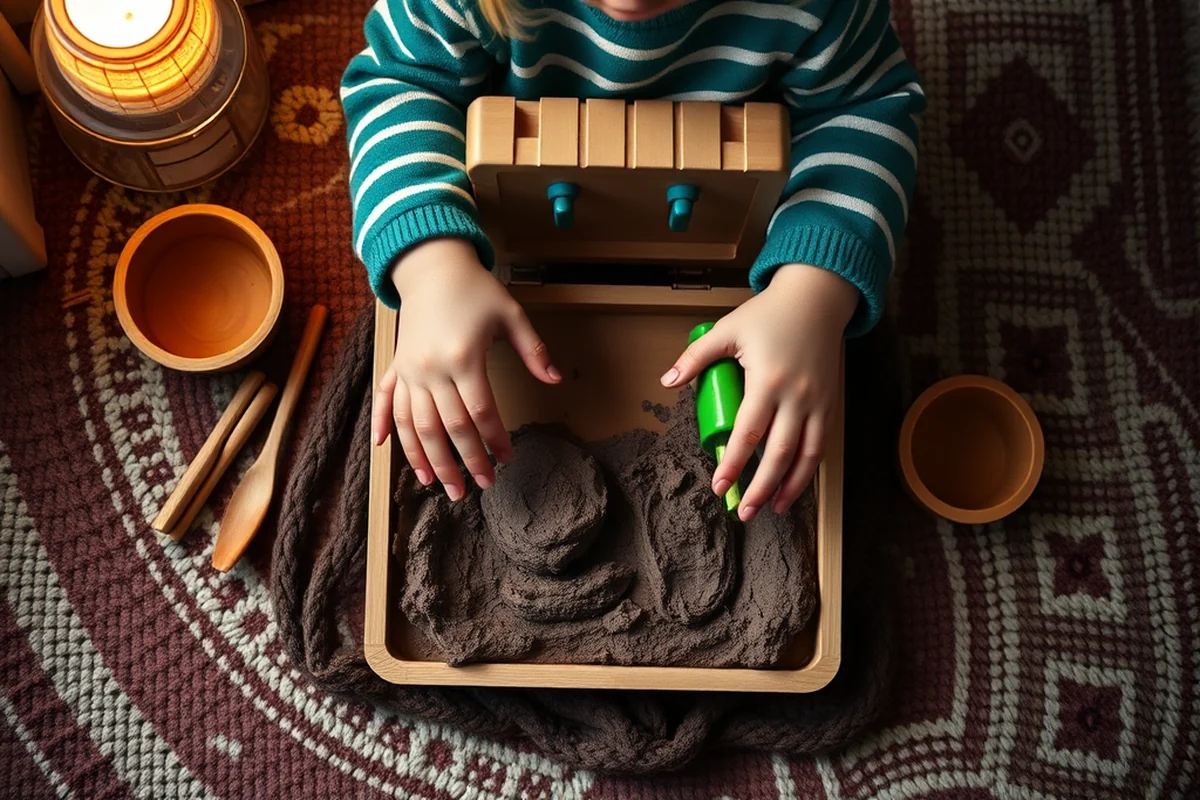
One day, my daughter decided to pour an entire bucket of water onto the ground, which turned the area into a mini swamp. I realized that even though the space was meant to be flexible, it’s important to be ready for the unexpected. We had a towel and a small bucket on hand to help clean up the mess, and this made the process much easier.
I also learned that it’s important to have a plan for when the space becomes too wet or too dry. We set up a small area with a hose and watering can to help manage the moisture level. This allowed us to adjust the texture of the mud without making it too messy.
Another thing I noticed was that having a designated area for clean-up helped keep things organized. We used a small table with a few buckets and brushes, and this made it easier for my daughter to clean up after herself. It also helped her understand the importance of responsibility and organization.
Making It Accessible for All Ages
When my daughter was younger, I used larger containers and simpler tools to help her grasp the basic concepts of mixing and measuring. As she grew, I introduced more complex tools like small brushes, wooden spoons, and even a small sieve for sifting the mud.
For toddlers, we focused on sensory play and texture exploration. We used large containers and simple tools to encourage them to press, scoop, and mix. For older children, we added more variety and challenge, like creating different textures or even designing a small ‘restaurant’ with pretend menus and cooking stations.
I found that adapting the space based on the age and abilities of the children using it made the experience more engaging and educational. It also helped my daughter stay interested and motivated as she learned new skills and explored new ideas.
Keeping It Fun and Engaging
I’ve found that the best way to keep the play engaging is to let my daughter take the lead. She decides what she wants to make, how she wants to mix the ingredients, and even how she wants to present her creations. This gives her a sense of ownership and control over the space.
I also make it a point to be involved in the play, even if I’m not the one doing the mixing or the cooking. I ask questions like, ‘What does this smell like?’ or ‘What happens if we mix this with that?’ These questions help her think critically and explore different ideas.
Another way I keep the play fun is by adding new elements from time to time. We’ve used leaves, sticks, and even small pieces of fabric to create different textures and patterns. This keeps the experience fresh and exciting, even after weeks of use.
The best mud kitchens are the ones that let the child lead the way.
Making It Last: Caring for Your Mud Kitchen
I learned early on that keeping the space clean and organized was essential for long-term use. We made it a habit to clean up after each session, which helped keep the area from becoming too messy or overwhelming. This also made it easier for us to use the space again the next day.
We also learned that the best way to keep the mud from drying out completely was to keep it slightly damp. We used a watering can to add a small amount of water when needed, which helped maintain the right texture for playing. This also helped prevent the mud from becoming too hard or difficult to work with.
Another thing I found helpful was storing the tools and containers in a designated area. This made it easier to set up and clean up, and it also helped keep the space from becoming cluttered. Over time, we’ve even made a small storage bin for the tools, which has become a favorite part of our play routine.
🌱 Gentle Mud Kitchen
Perfect for younger children, this variation uses softer textures and larger tools to ensure a safe and gentle play experience.
⏱️ Fast-Track Setup
Ideal for busy parents, this variation uses items you already have and requires minimal preparation to get started.
🧳 Travel/away-from-home Mud Kitchen
Designed for on-the-go families, this version uses portable containers and lightweight tools that can be easily transported and set up anywhere.
👯♀️ Multiples Mud Kitchen
This variation is perfect for families with multiple children, allowing each child to have their own space and materials to play independently or collaboratively.
🔄 Regression Reset Mud Kitchen
Designed for children going through developmental changes, this variation offers a fresh and adaptive play space that can be easily modified to suit new needs.
| The mistake | Why it happens | The fix |
|---|---|---|
| Using too many tools at once | This can overwhelm the child and make the space feel cluttered and confusing. | Start with a few basic tools and gradually introduce more as your child becomes more comfortable with the play. |
| Not having a cleanup routine | This can lead to the space becoming too messy and difficult to use over time. | Establish a simple cleanup routine and make it a part of the play experience. This will help keep the space organized and enjoyable for everyone. |
| Forcing the child to play in the mud | This can make the experience feel like a chore rather than a fun and creative activity. | Let your child lead the play. Offer support and encouragement, but never force them to participate if they’re not interested. |
| Not setting clear boundaries | This can lead to the space becoming too messy or unmanageable, especially for younger children. | Set clear boundaries and rules for the space. Make sure your child understands what is and isn’t allowed, and consistently enforce these rules. |
Easy Diy Mud Kitchen
Common Questions
What if I don’t have a backyard or outdoor space?
How do I keep the space from getting too messy?
What if my child doesn’t want to play in the mud?
Can I use sand instead of mud?
References
- The Effects of the Perry Preschool Program on Youths through Age ... (files.eric.ed.gov)
- Obesity Prevention in Rural Early Care and Education Settings ... (mchb.hrsa.gov)
- Appendix F: Constraints Analysis Table of Contents - Mill Valley (cityofmillvalley.gov)
Cite this guide
Messysenses (2026). Easy Diy Mud Kitchen. https://messysenses.com/easy-diy-mud-kitchen/
Feel free to cite or share this guide.