
Easy Sand Art For Beginners
📖 Table of Contents
I remember the first time my son asked me to help him make something with sand. He was five, and he had a little bucket of beach sand from a recent trip to the shore. I thought it was just a momentary curiosity, but that day, we spent over an hour creating a little world of castles and patterns, and he was beaming the entire time. It was simple, messy, and completely absorbing for him. That moment stuck with me because it was a perfect example of how something so easy, like sand art, can spark a child's imagination and creativity — without any pressure or overthinking. This is the kind of experience I want to help other parents recreate, whether they're at home, on a trip, or just looking for a calm, sensory-friendly activity to do with their kids.[1]
Sand art is one of those activities that feels like it should be complicated, but in reality, it's one of the easiest and most rewarding things you can do with your kids. You don’t need a lot of space, and the only real requirements are a few containers or a tray, some colored sand, and a little patience. I’ve tested this with my own kids. Even when I thought we didn’t have the right tools, we just used what was on hand — a cardboard box, some old Tupperware, and even a few paper plates. The results were messy, but they were also deeply satisfying for the kids, and more than once, I found myself smiling along with them as they made patterns and shapes.
If you're looking for a way to keep your kids entertained without screens, without a lot of cost, and without the usual mess of traditional crafts, then easy sand art is the answer. It's not just a one-time activity — it can be a way to explore different themes, like nature, geometry, or even storytelling. And the best part is, it's something that can be done with just a few simple materials. I've done this in my home, in parks, and even on long car trips, and it's always a hit with my kids. If you're new to this, don't worry — it's easy, and this article will guide you step by step through everything you need to know.
Why You'll Love This Simple Sand Art Activity
- It promotes creativity and fine motor development without any pressure or instruction.
- It can be done in a matter of minutes with just a few items you likely already have at home.
- It's a great way to engage your child in sensory play that's both calming and stimulating.
- It can be adapted to suit different ages, interests, and even learning goals.
What You Need to Start Creating
As of September 2026, the easiest way to start is with a few colored sands, a tray or container, and some tools like spoons or small brushes. I’ve used everything from old Tupperware containers to paper plates, and even a cardboard box cut into sections. If you're in a pinch, you can use your hands to create patterns, and it works surprisingly well. My son's favorite tool is a small plastic spoon, which allows him to make precise lines and shapes.
If you're looking for a low-cost option, I recommend buying a set of four colored sands from a local store or online. I found one that costs around $10 and includes red, blue, yellow, and green — perfect for creating a variety of patterns and images. You can also use sand from the beach if you're near the shore, but be sure to let it air dry first to avoid any issues with moisture.
The key is to keep things open-ended. Sand art is about exploration, not perfection. I've seen my daughter create entire landscapes with just a few colors and a few tools, and she was so proud of her work. The beauty of this activity is that it's accessible to kids of all ages and abilities — and it's a great way to encourage them to think creatively.
Don’t stress over buying specialized tools — a plastic spoon, a paper plate, and a few colored sands are all you need to get started.
How to Make the Most of the Activity

I always encourage my kids to start by making their own rules. For example, they might decide to use only two colors, or they might want to make something that looks like a mountain or a forest. I let them take the lead, which keeps the activity fun and engaging. It’s also a great way to teach them about color mixing, shapes, and even basic geometry — all while having a good time.
One of the best things about sand art is that it can be tailored to your child's interests. If they love animals, they can create patterns that look like a lion or a bird. If they're into space, they can make a galaxy with colored sands and small plastic stars. I’ve even seen my daughter create a ‘sand garden’ with different sections, each with its own color and texture.
To keep the activity going, I like to set up a small table with a tray, colored sands, and a few tools. We work on it for about 20-30 minutes, and then we clean up together. It’s a great way to bond, and it’s also a chance for my kids to practice responsibility and teamwork. I’ve found that when they feel involved in the process, they’re more likely to leave the area clean and organized.
Let your child take the lead — the best sand art comes from their imagination.
Related: How to build a mud kitchen
How to Make It More Engaging
One of the easiest ways to make sand art more interesting is by using small objects as tools. I’ve used things like sticks, spoons, and even small plastic toys to help my kids create more intricate designs. For example, we used a plastic dinosaur to make a track in the sand, and my son loved watching the shape it left behind.
Another idea is to use a piece of cardboard or a tray with sections. This helps your child organize their work and makes it easier to create different patterns or images. I’ve used this method with my daughter to create a ‘sand garden’ with different sections, each with its own color and texture.
To make the activity more educational, I sometimes introduce simple concepts, like counting or sorting. We’ll count how many scoops of sand we use, or we’ll sort the sands by color. It’s a great way to combine creativity with learning, and my kids love it when we play with both sides of their brain.
Use small objects like spoons, sticks, or even plastic toys to create more complex and engaging designs.
“I remember the first time my son asked me to help him make something with sand.”— Messysenses editors
Related: Free plans for kids outdoor mud kitchen
How to Clean Up Easily
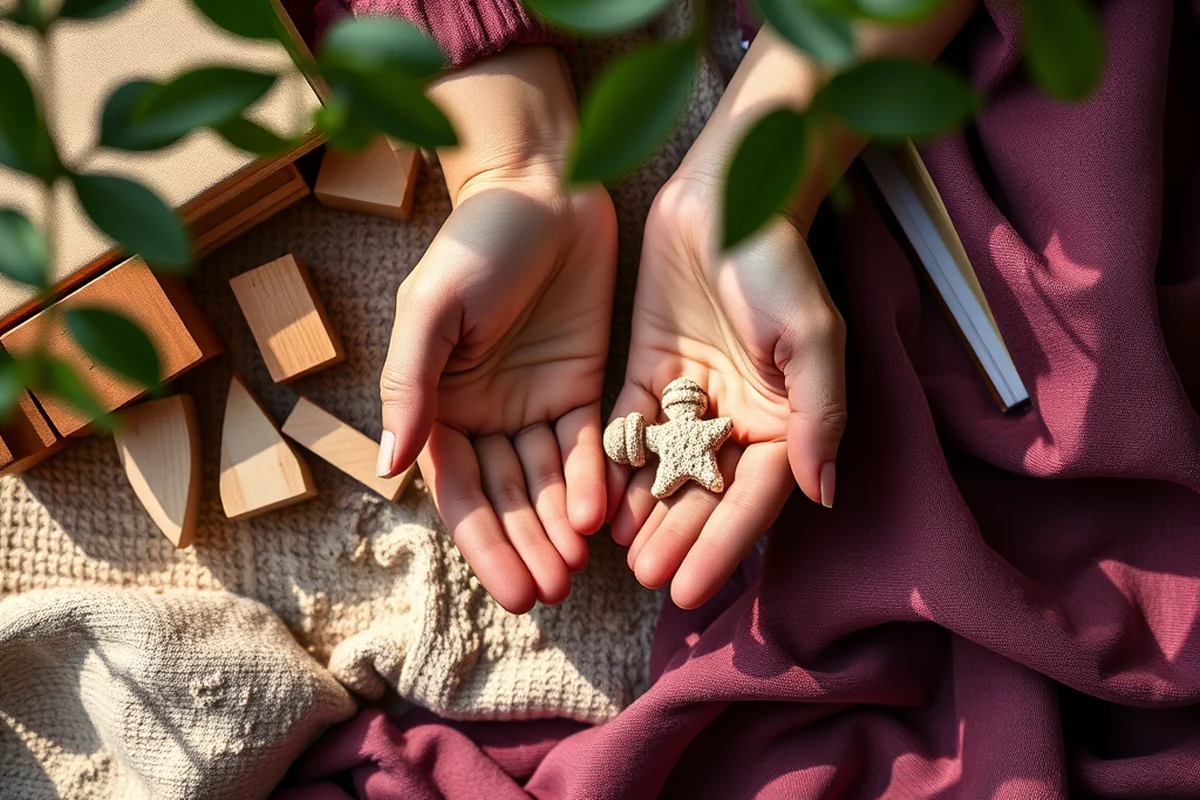
The key to cleaning up quickly is to use the right tools. A small vacuum or a dry cloth works best for picking up the sand, especially if it's on the floor. I’ve found that a microfiber cloth is especially good for picking up sand from smooth surfaces like tables or countertops.
If you're using a tray, you can simply dump the sand into a container and then rinse it out with water. I always make sure to let the tray dry completely before using it again — this helps prevent mold or bacteria from growing. It’s also a good idea to store the colored sands in airtight containers to keep them fresh and clean.
To make the process even easier, I like to clean up right after the activity. This helps prevent the sand from spreading all over the house, and it also sets a good example for my kids. I’ve found that when we clean up together, it becomes a bonding experience and it helps them learn the value of responsibility.
Related: Easy diy mud kitchen
How to Keep the Activity Fresh
One of the best ways to keep sand art fresh is to introduce new themes or ideas. For example, we’ve done nature-themed sand art, where we create landscapes with different colors and textures. We’ve also done space-themed sand art, where we use black sand to make a galaxy and then add small plastic stars or planets.
Another idea is to use different types of sands. I’ve tried using fine beach sand, coarse sand, and even colored sands with different textures. This helps keep the activity engaging and gives the kids a chance to explore different materials.
To make things even more interesting, I sometimes introduce a challenge. For example, I’ll ask my kids to create a picture using only two colors, or I’ll challenge them to make a pattern that looks like a flower or a tree. It’s a great way to keep them engaged and to encourage them to think creatively.
Related: How to make a mud kitchen
How to Store and Reuse the Materials
One of the best ways to store colored sands is in airtight containers. I’ve used small glass jars with lids, and it works really well. This helps keep the sands fresh and prevents them from getting mixed up. I also label each jar with the color, which helps my kids identify which one is which.
If you're using a tray, you can simply clean it and reuse it for future activities. I’ve found that if you clean it thoroughly and let it dry completely, it can be used again and again. It's also a good idea to store the tray in a cool, dry place to prevent any issues with mold or bacteria.
For the tools, like spoons and brushes, I recommend storing them in a small container or a drawer. This helps keep them organized and makes it easier to find them when you need them. I’ve also started using a small basket to hold all the tools together — it keeps everything in one place and makes it easy to clean up.[2]
Proper storage keeps your materials fresh and ready for the next creative session.
Related: Outdoor mud kitchen diy
How to Make It a Learning Experience
One of the easiest ways to make sand art a learning experience is to use it to teach basic concepts like counting, sorting, and color mixing. For example, you can count how many scoops of sand your child uses, or you can ask them to sort the sands by color or texture. I’ve found that this helps reinforce basic math and science concepts in a fun and engaging way.
Another idea is to use sand art to teach about different shapes and patterns. You can create simple shapes like circles, squares, and triangles, and then ask your child to identify them. This is a great way to introduce geometry and spatial awareness in a natural and playful way.
To make it even more educational, you can use sand art to teach about different textures and materials. For example, you can compare the feel of fine beach sand with the feel of coarse sand, and then ask your child to describe the differences. This is a great way to develop their sensory skills and help them learn to describe and compare different textures.
🧘 Gentle Approach
Perfect for younger kids or those who are easily overwhelmed — keep the activity simple, with minimal tools and colors.
⏱️ Fast-Track Version
Ideal for quick sessions — use pre-colored sand and simple tools to make the activity go faster.
🧳 Travel/On-the-Go Version
Great for car trips or vacations — use small containers and colored sands to create a portable sand art activity.
👨👧👦 Multiple Kids Version
Designed for families with more than one child — use larger containers and multiple colors to keep everyone engaged.
🔄 Regression Reset
Helps kids who are feeling frustrated or overwhelmed — use simple shapes and colors to encourage calm and focus.
| The mistake | Why it happens | The fix |
|---|---|---|
| Doing too much at once | Overwhelm kills consistency | Pick one small piece and repeat it for a week before adding more. |
| Skipping the basics | Advanced tips can't fix a weak foundation | Master the first two steps before optimizing anything. |
Easy Sand Art For Beginners
Common Questions
What if my child is too young for sand art?
How do I keep the sand from getting everywhere?
Can I use regular beach sand for sand art?
How do I store the colored sands?
References
- PART 4: From Named Trails to U.S. Numbered Highways | FHWA (highways.dot.gov)
- Complete Classroom for - children.alabama.gov (children.alabama.gov)
Cite this guide
Messysenses (2026). Easy Sand Art For Beginners. https://messysenses.com/easy-sand-art-for-beginners/
Feel free to cite or share this guide.