
Outdoor Mud Kitchen Diy
📖 Table of Contents
I remember the first time my daughter sat in the middle of a mud pie, her hands stained with the earth we’d gathered from the backyard. It was messy, loud, and completely magical. That moment sparked the idea for our outdoor mud kitchen, a space where creativity, sensory exploration, and pure joy collided. The concept of an outdoor mud kitchen diy is simple. Its impact is profound — it’s a way to bring the wonders of nature into your child’s daily play without leaving the yard.
We built our first mud kitchen in a corner of our back garden, using scrap wood, old containers, and a few buckets we had lying around. At first, I worried about the mess, but it turned out to be one of the most rewarding projects we’ve ever done. It’s not just about the fun of making mud pies — it’s about the way it brings children together, encourages problem-solving. Gives them a space to explore the world in a tactile, sensory way.
If you’re looking for a way to engage your child in meaningful, hands-on play that’s also easy on the wallet, the outdoor mud kitchen diy might be exactly what you need. It doesn’t require a lot of space, and it’s a perfect opportunity to teach kids about textures, natural materials, and the joy of unstructured play. It’s one of those projects that feels like it just happens — and once you’ve built it, you’ll wonder how you ever played without it.[1]
Why You'll Love This Outdoor Mud Kitchen Diy
- Encourages sensory exploration and creativity in a natural setting
- Provides a space for unstructured, imaginative play without the need for expensive toys
- Strengthens family bonds through shared building and play experiences
- Teaches children about textures, natural materials, and the joy of hands-on learning
Why Build an Outdoor Mud Kitchen Diy?
As of August 2026, the idea of an outdoor mud kitchen diy is rooted in the belief that play doesn't have to be confined to structured activities. It’s about giving kids the freedom to experiment, build, and imagine with the resources around them. We first built ours after a rainy day when my daughter asked, ‘Can we make a kitchen for mud pies?’ It took us three days of planning and gathering. The result was worth every minute.[2]
We used two large buckets for the ‘pots’ and a few wooden planks for the ‘counter.’ The rest was just dirt, water, and imagination. My daughter and her friends would gather around it, making mud pies, mixing in leaves, and even pretending to cook meals using sticks as utensils. The way they played was completely unscripted, and that’s the beauty of it.[3]
In the weeks that followed, we saw a noticeable increase in her problem-solving skills and confidence. She started to take the initiative in organizing the kitchen and even taught her younger brother how to make a ‘perfect’ mud pie. It was a small project, but it had a big impact on her development and engagement with the world around her.
Don’t feel the need to buy anything new. Use what you already have in your home — buckets, wooden planks, and even old containers can become the foundation of a fantastic mud kitchen.
How to Choose the Right Spot
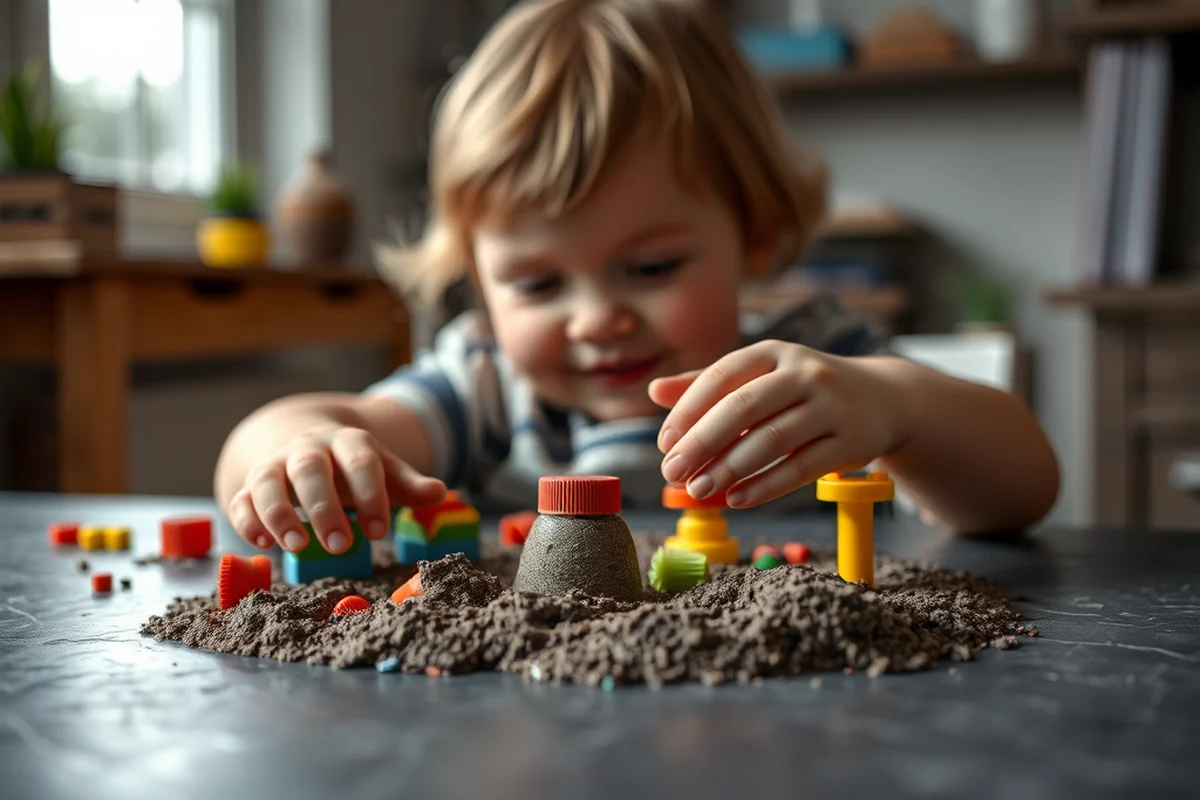
We picked a spot in our backyard that was flat and close to a water source. It was important to be near a hose so we could easily water the mud and keep it fresh for our kitchen activities. Also, we wanted it to be near a shaded area for those hot summer days, but still have enough sun to keep the mud from drying out too quickly.
We avoided areas with a lot of foot traffic because we didn’t want the space to get too muddy or worn down. Instead, we chose a corner of the yard that was already a little secluded but still within sight of our home. It’s reassuring to know that our kids are playing in a safe, familiar space.
Our favorite part about the location was the proximity to a tree. The shade from the tree made it a more comfortable place to play on sunny days, and the roots of the tree added a natural texture to the ground that the kids loved exploring.
Choose a spot that’s both safe and inspiring — your child’s imagination will thank you.
Related: Mud kitchen outdoor art
Related: Outside mud kitchen for kids
Related: How to make a mud kitchen
Related: Easy diy mud kitchen
Related: Free plans for kids outdoor mud kitchen
Related: Outdoor Mud Kitchen For Kids
Related: Heart Coloring Pages
Related: Mud Kitchen For Kids Outdoor
Related: Mud Kitchen Near Me
Related: Outdoor Wooden Mud Kitchen
Related: Outdoor Mud Kitchen Preschool
Related: Outdoor Mud Kitchen For School
Related: A Is For Alligator Coloring Page
Related: A Flower Line Drawing
What to Use for the Base and Pots
For the base of our mud kitchen, we used two large wooden planks that we had from a previous project. They were sturdy and easy to lay down in the ground. We also used a few old buckets that we found in the garage, which became the ‘pots’ for our kitchen. We filled them with water and added dirt to make the mud pies.
We used a couple of wooden boards for the ‘counter’ and hung a small tarp from a tree to act as a ‘canopy’ over the kitchen area. This helped keep the rain from washing away the mud and made the space more functional and weather-resistant.
The materials we used were all things we already had at home, which made the project much easier on the budget. I was surprised at how well the old buckets and planks held up — they’ve lasted for months of use and still look great.
Look around your home for items you can repurpose. Old buckets, planks, and even broken pots can become the foundation of a unique and functional mud kitchen.
“I remember the first time my daughter sat in the middle of a mud pie, her hands stained with the earth we’d gathered from the…”— Messysenses editors
Adding Functional and Decorative Elements
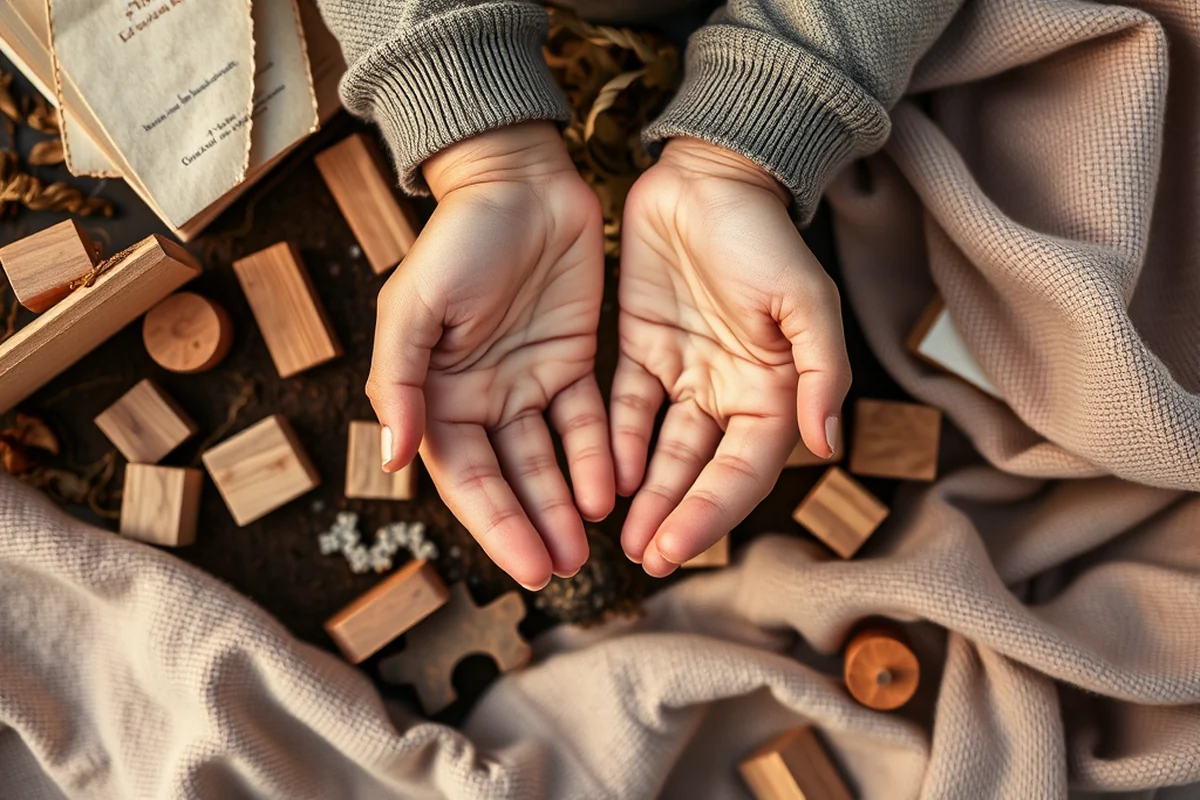
We added a few old spoons and sticks for the kids to use as utensils and tools. We also used some leftover paint to decorate the wooden planks and buckets, making the kitchen look more like a real kitchen. It was a small touch, but it made a big difference in how the kids perceived the space.
We also used a few old jars and containers to hold the ‘ingredients’ like leaves, stones, and other natural items the kids could mix into their mud pies. This helped them think creatively and added a layer of organization to the kitchen that made it more enjoyable.
One of the most popular additions was a small tarp we hung between two trees. It became a ‘roof’ for the kitchen and gave the kids a sense of enclosure and safety. It also helped keep the mud from blowing away in the wind.
Involving Your Kids in the Building Process
We involved my daughter in every step of the process, from choosing the location to helping with the assembly. She loved being part of the decision-making and was excited about the idea of building her own mud kitchen. She even helped pick the colors for the paint we used on the wooden planks.
We made sure to explain each step in a way she could understand. For example, when we were laying the planks for the base, we talked about how they needed to be flat and stable so the kitchen could stay up. She loved being responsible for checking that everything was level.
Involving the kids in the building process helped them feel a sense of ownership over the space. It also gave them the chance to learn about the materials they were using and how they worked together to create something functional and fun.
Making the Space Safe and Accessible
We made sure the space was clear of any sharp objects or hazards that could cause injury. We also kept the ground as flat as possible so the kids could move around easily. It was important to create a space that was both safe and inviting.
We used soft, natural materials for the ‘pots’ and ‘utensils’ to avoid any risk of injury. We also made sure the space was well-lit during the day so the kids could see clearly while playing. If we used a tarp or canopy, we made sure it was securely fastened.
We also considered the height of the table and the reach of the kids. We made the ‘counter’ low enough so the youngest children could easily use it, but still sturdy enough for the older kids to work on. It was a small detail, but it made a big difference in how the space was used.
Safety comes first — build a space that’s as secure as it is fun.
Maintaining the Outdoor Mud Kitchen Diy
We found that cleaning the space after each use was the most important part of maintenance. We used a garden hose to wash away the mud and keep the area clean and ready for the next session. We also made sure to dry the wooden planks and buckets thoroughly after each use to prevent them from rotting or warping over time.
We checked the space regularly for any signs of wear or damage. If any of the planks or buckets started to get too worn, we replaced them with new ones we had saved up for the project. This helped keep the kitchen looking fresh and functional.
One of the most important things we learned was to store the ‘ingredients’ like leaves and stones in separate containers. This helped keep the space organized and made it easier for the kids to find what they needed when they were playing.
🌱 Gentle Start
This approach is ideal for younger children or those who are just beginning to explore unstructured play. It involves using softer materials and simpler designs to make the space more accessible and easier to manage.
⏳ Fast-Track Build
This method is perfect for those who want to get their outdoor mud kitchen diy up and running quickly without spending too much time on planning or construction. It focuses on using pre-made materials and simple assembly techniques.
🧳 Travel/Remote Location
This variation is great for families who are frequently on the move or who want to set up a mud kitchen in a remote location. It uses lightweight, portable materials that can be easily transported and assembled.
👨👧👦 Multiple Kids Setup
This approach is designed for families with multiple children who want to ensure that the space can be used by all at the same time. It includes additional areas and materials to accommodate more players and different activities.
🔄 Regression Reset
This variation is for families who want to reset their outdoor mud kitchen diy after a period of disuse. It involves a thorough cleanup and reorganization to restore the space to its original condition and functionality.
| The mistake | Why it happens | The fix |
|---|---|---|
| Using too many sharp or dangerous materials | This can pose a risk of injury to children who are playing in the space. | Use only soft, natural materials for the ‘pots’ and ‘utensils’ to avoid any risk of injury. |
| Not securing the space properly | This can lead to the space becoming unstable or unsafe for children to use. | Make sure all materials are properly secured and that the ground is flat and stable. |
| Overcomplicating the design | This can make the space more difficult to use and maintain, especially for younger children. | Keep the design simple and functional, focusing on the basic elements that allow for creative play. |
| Not involving the children in the process | This can lead to the space feeling less special or engaging for the children who are using it. | Involve your children in every step of the building process to help them feel a sense of ownership and connection to the space. |
Outdoor Mud Kitchen Diy
Common Questions
What kind of materials do I need to build an outdoor mud kitchen diy?
How do I make sure the space is safe for my children?
What if I don’t have a lot of space in my yard?
Can I build this with my child?
References
- South Carolina Early Learning Standards (ed.sc.gov)
- PR&ST Comprehensive Master Plan (2023) - HickoryNC.gov. (hickorync.gov)
- Observing children's outdoor loose parts play, fundamental ... - PMC (pmc.ncbi.nlm.nih.gov)
Cite this guide
Messysenses (2026). Outdoor Mud Kitchen Diy. https://messysenses.com/outdoor-mud-kitchen-diy/
Feel free to cite or share this guide.