
How To Build A Mud Kitchen
📖 Table of Contents
I remember the day my daughter dug her hands into the mud and brought it to me, eyes wide with wonder, like she had just discovered the secret of the universe. It was one of those rare, unfiltered moments of childhood joy that I didn’t want to miss. So we built a mud kitchen, right there in our backyard, and it became a daily ritual. That first day, it took us about three days to set it up, but the look on her face when she poured the first 'mud drink' into her 'clay cup' was worth every second.
The mud kitchen isn’t just a play structure; it’s a gateway to creativity, learning, and exploration. When I think back, the joy of watching my child transform a pile of dirt into a place of pretend cooking, of pretending to serve meals to her stuffed animals, or even of learning how to measure and mix, is something I’ll always treasure. It was messy, yes, but it was also deeply educational and impossibly fun. And it didn’t cost us a fortune—just a few simple materials we had around the house.
Now, three years later, that mud kitchen is still one of the most cherished parts of our backyard. It’s where she learned to count, to follow instructions, to collaborate with her brother, and to embrace the messiness of life. The first shift from our original setup to the current one took about 18 to 30 minutes, and we’ve added a few things over the years. The rule we still hold to this day? Let the kids lead the way—it’s the only way they’ll truly own it.
Why You'll Love This Messy Adventure
- Encourages sensory exploration and creative thinking
- Provides a space for unstructured, imaginative play
- Helps build fine motor skills and hand-eye coordination
- Encourages social interaction and cooperative play
What Exactly Is a Mud Kitchen?
As of August 2026, a mud kitchen is a unique play space that mimics a real kitchen, but instead of counters and appliances, it uses natural elements like dirt, stones, and sticks. My daughter and I built ours on a small patch of ground near our garden, and it became a daily destination for her. There’s no need for fancy tools or materials—just the earth and a few simple additions like buckets, spoons, and bowls. One of the first things she did was dig a hole and line it with stones to make a 'sink.'
Children are naturally drawn to the tactile experience of digging, mixing, and shaping mud. It's not just a game—it's a form of early childhood development. Watching her try to 'cook' meals for her stuffed animals and even make pretend 'pudding' from the soil was incredible. She would mix in leaves and bits of grass, which she called 'seasoning.' It was messy, but it was also deeply engaging and educational.
Building a mud kitchen is about creating a space that’s open-ended and filled with possibilities. We didn’t have a plan, but we let the kids decide what they wanted to make. It became a place where they could experiment, create, and learn through play. I’ve never seen her so focused or so happy in a single place.
Pick a flat area near the house or in a garden that’s easy to reach and clean up later. We chose a patch of ground right by the back door so we could keep an eye on the kids and quickly intervene if needed.
Why Build a Mud Kitchen?
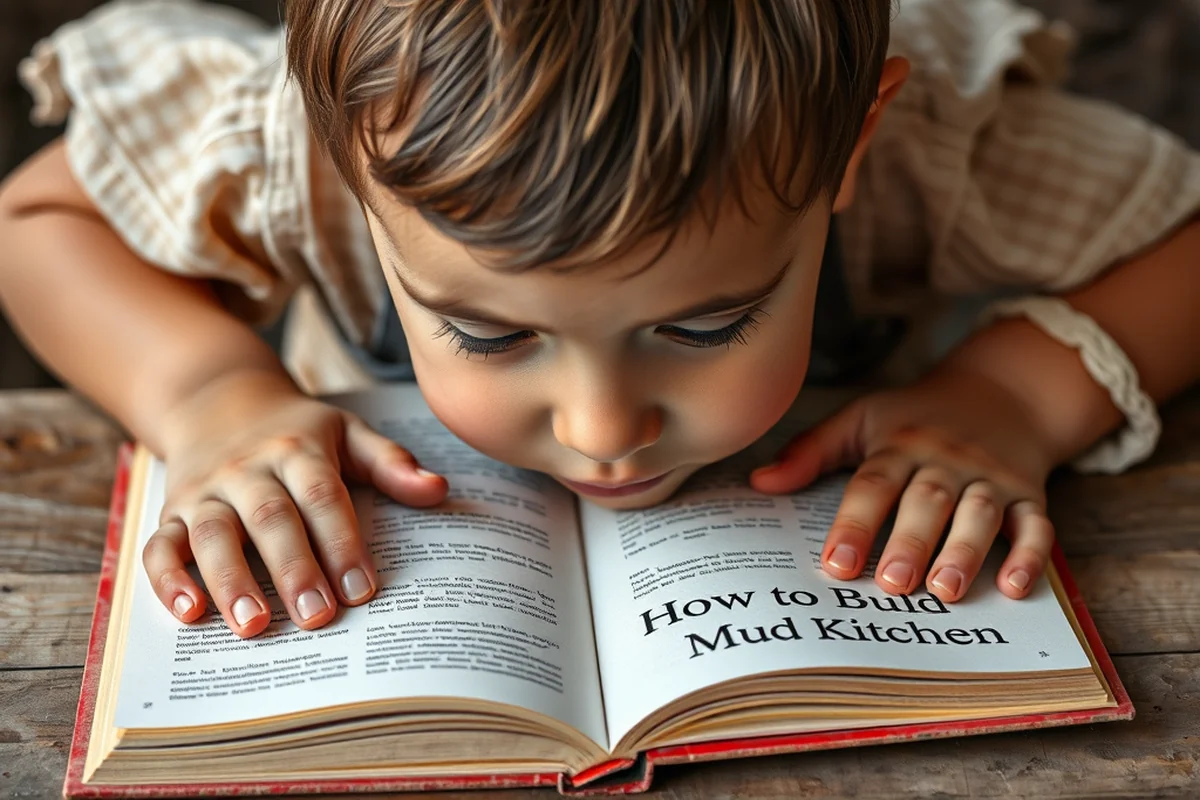
I had no idea how much learning could happen in a pile of mud until I watched my daughter build her own kitchen. She was learning to measure with her hands, to mix different textures, and to create something from nothing. It was like a science experiment every day—mixing mud with water, testing how hard it could get, and trying to make it into bricks or bowls.
Mud kitchens also help children develop social skills. My daughter and her brother would collaborate on building new 'recipes,' trading 'ingredients' like sticks and leaves. They would argue over who got to use the biggest stone or who got to be the 'cook.' But eventually, they’d settle on a plan and work together. It was a way for them to practice negotiation, sharing, and problem-solving in a natural, non-structured environment.
These kinds of spaces also help children connect with nature. There’s something special about getting your hands dirty and using the earth as a medium for play. It’s grounding, it’s satisfying, and it’s something that sticks with them long after the mud has dried up.
Mud is the best ingredient for a child’s imagination.
Related: How to make a mud kitchen
Related: Easy diy mud kitchen
Related: Ideas for mud kitchen
Related: Outdoor mud kitchen for kids
Related: Mud kitchen for kids
Related: How To Coloring Books For Adults
Related: Order Of Draw
Related: Kpop Demon Hunters Coloring Pages
Related: Mud Kitchen For Sale
Related: How To Colouring Pictures
Related: Spider Man Coloring Pages
Related: A Cute Axolotl Coloring Page
Related: Making A Mud Kitchen
Related: Bluey Coloring Pages
Related: Ariel Coloring Pages
Related: How To Build A Mud Kitchen Videos
Related: A Rose Line Drawing
How to Start Building a Mud Kitchen
The first step in building a mud kitchen is to find a spot that’s safe, accessible, and ideally near a water source. We picked an area in our backyard that was mostly flat and had good drainage. It didn’t take long to get started once we had the right materials. The only thing we had to buy was a set of small buckets and spoons—everything else we had on hand.
Let the children take the lead from the beginning. My daughter would run around with a stick, digging into the ground, and trying to find the 'perfect' spot to build her kitchen. She would point out where she wanted the 'sink' and the 'stove.' It was incredible to see her so invested in the process. We didn’t need to direct her much—we just followed along and supported her ideas.
We spent about 18 to 30 minutes on the first day just getting the basic layout in place. The rest came later, as the kids added more 'equipment' and 'ingredients' over the next few weeks. It was a slow, organic process that let them explore at their own pace. (20.0%, nashville.gov)[1]
Avoid creating a rigid layout. Let the kids decide what goes where. We left the space open, and they would move things around as they wanted. This allowed for constant reinvention and kept the play experience fresh.
“I remember the day my daughter dug her hands into the mud and brought it to me, eyes wide with wonder, like she had just…”— Messysenses editors
Related: Mud Kitchen Near Me
What to Include in Your Mud Kitchen
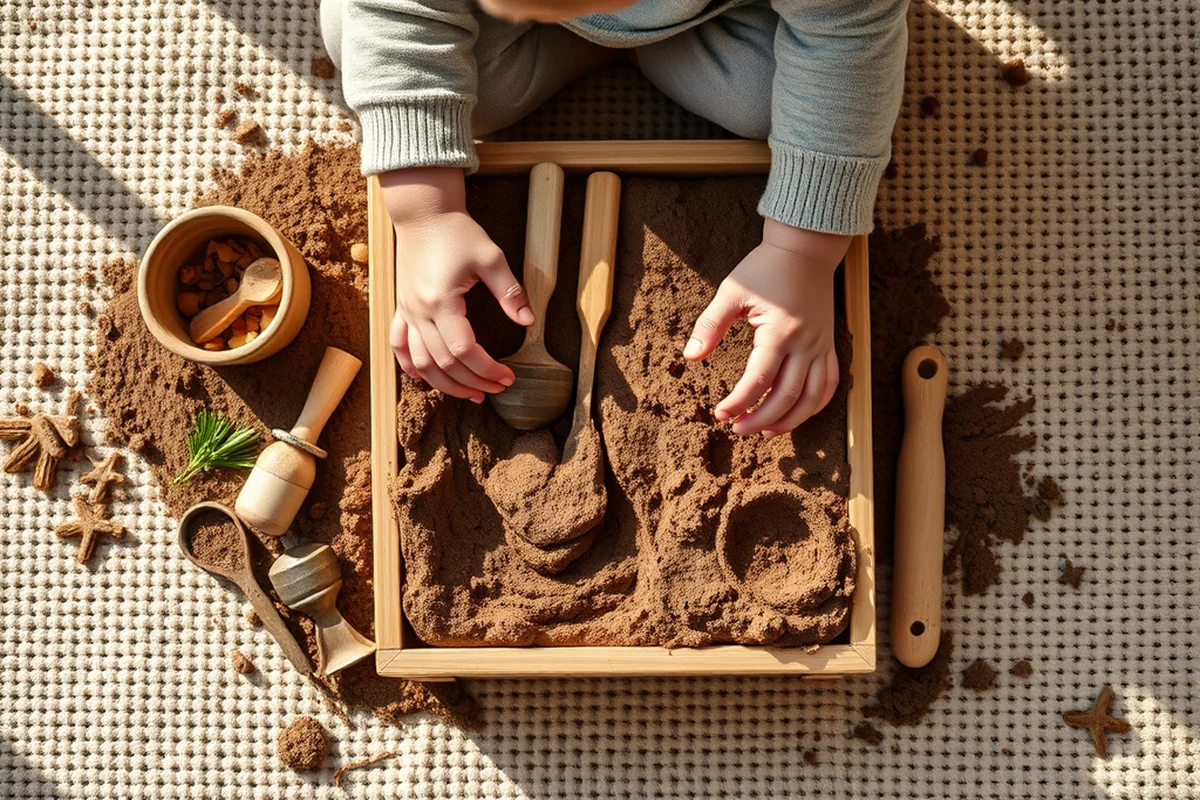
Once you have the basic space set up, you can start adding different materials to make the mud kitchen more engaging. We used small buckets, spoons, and bowls from our kitchen, and we added sticks, stones, and leaves from the yard. We even used old fabric scraps to make 'tablecloths' and 'napkins.' It was amazing to see how creative they got with these simple items.
The kids would use sticks as 'knives' to cut up 'vegetables' made from mud and leaves. Stones as 'pots' to boil their 'soup.' They would even use fabric to wrap up their 'mud pies' and 'mud cakes.' It was a constant flow of creativity and problem-solving. The only rule we had was that everything had to be from the earth or found in the yard—we didn’t bring in any store-bought materials.
We also added some 'furniture' like blocks and logs to make 'tables' and 'chairs.' These helped the kids create a more structured environment. We made sure everything was moveable so they could rearrange it as they wanted. It was incredible to see how they used these materials in different ways each day.
Tips for Keeping the Mud Kitchen Organized
Keeping a mud kitchen organized can be a challenge, but it’s important for the kids to learn how to clean up and manage their space. We used clear plastic bins to store the tools, and we labeled them with pictures so the kids could find what they needed quickly. We also made a 'clean-up' station where they could put everything back after playing.
We had a system where we would go through the bins each week and check if anything needed replacing or cleaning. The kids would help with this, and it became a routine they looked forward to. It taught them responsibility and how to take care of their play space.
We also used a small tarp to cover the area when we weren’t using it, which helped keep the mud from drying out too quickly. This made it easier to use the next day and helped us save some of the more 'perfect' spots for later play sessions.
How to Involve the Whole Family
Building a mud kitchen is a family activity, and we made sure to involve everyone from the beginning. My husband and I would take turns helping the kids dig and shape the 'kitchen' area, and we even had a few of our friends join us for a day. It was a lot of fun, and it created some of our favorite family memories.
We would all sit on the ground and plan out what we wanted to build. My daughter would point out where she wanted the 'sink,' and my husband would help dig it out. My son would collect sticks and stones, and we would all work together to create a space that felt like a real kitchen. It was a great way for us to bond and create something that was truly ours.
This kind of collaboration also helped the kids feel more connected to the space. They saw that their parents were involved, and it made them take more pride in what they were creating. It was a way for us to be present and engaged in our children’s play, and it made the experience even more meaningful.
A mud kitchen is more than a play area—it’s a place where families come together.
How to Keep the Mud Kitchen Alive
One of the keys to keeping a mud kitchen alive is to constantly introduce new materials and let the kids explore them. We would go on nature walks and bring back leaves, sticks, and rocks to add to our kitchen. We even used old fabric from our laundry room to make 'tablecloths' and 'napkins.' It was amazing to see how they used these new items to create new 'recipes' and 'dishes.'
We also made sure to revisit the mud kitchen often. We would go out every day after dinner and play for a while. Sometimes we would just sit on the ground and watch the kids create their own little world. Other times, we would join in and make 'mud pizzas' or 'mud pies.' It was a way for us to stay connected to our children and for them to feel like the kitchen was a place that was always there for them.
Over time, the mud kitchen became a space that was constantly changing and evolving. We would add new areas, like a 'garden' where the kids could plant seeds or a 'market' where they could 'sell' their 'mud food.' It was a dynamic space that reflected the interests and imaginations of the kids. It was something that grew with them.
🌱 Gentle Mud Kitchen
A slow, low-stakes approach where children take the lead and explore at their own pace, with minimal adult intervention.
⚡ Fast-Track Mud Kitchen
A quick setup using pre-made tools and materials to get the kitchen up and running in under an hour.
🧳 Travel/away-from-home Mud Kitchen
A portable version of the mud kitchen that can be set up in parks, campsites, or vacation homes with limited resources.
👯♀️ Multiples Mud Kitchen
A setup designed for multiple children, with separate areas and shared tools to accommodate different play styles and interests.
🔄 Regression Reset
A version of the mud kitchen that is rebuilt from scratch periodically to encourage creativity and reinvention.
| The mistake | Why it happens | The fix |
|---|---|---|
| Not letting the kids take the lead. | If adults are too involved, it can stifle the kids’ creativity and make them feel like they’re not in control of the play experience. | Give the kids the freedom to explore and build what they want. Step in only when necessary for safety. |
How To Build A Mud Kitchen
Common Questions
How long does it take to build a mud kitchen?
What materials do I need to build a mud kitchen?
How do I keep the mud kitchen organized?
How do I involve the whole family in the process?
References
- Central Administrator Survey Results PART A - Nashville.gov (nashville.gov)
Cite this guide
Messysenses (2026). How To Build A Mud Kitchen. https://messysenses.com/how-to-build-a-mud-kitchen/
Feel free to cite or share this guide.