
Decorative Sand Art Projects
📖 Table of Contents
When my daughter turned three, I noticed her fascination with the way sunlight scattered through the sand at the beach. It was like watching tiny galaxies form in her hands. That moment sparked an idea: what if we could bring that same magic home? I began experimenting with decorative sand art projects that could be made with materials we already had. Over the next few weeks, I turned our living room into a canvas of shifting colors and textures, and it was a revelation for us both.
Decorative sand art projects became more than just a creative outlet — they turned into a tool for teaching my daughter about patience, patterns, and even basic math. We started with simple designs, like swirling colors in small jars, and moved on to more complex arrangements. It was surprising how much learning happened without any formal instruction. The best part? It was always a hit with her — she would ask for more materials, more colors, and more time to create.
As the months passed, I realized that these projects weren’t just about the finished product. The process itself — the way she focused, the way she experimented with colors, the way she would explain her creations to others — was invaluable. Decorative sand art projects became a way to connect, to teach, and to let her explore her imagination. It was messy, sometimes chaotic, but it was also deeply rewarding.
Why You'll Love This ...
- Encourages creativity and self-expression
- Promotes fine motor skills and hand-eye coordination
- Provides a calming, sensory activity for kids and adults
- Can be tailored to any age, skill level, or time availability
What Are Decorative Sand Art Projects?
As of September 2026, these projects can range from simple color mixing in small containers to elaborate mosaics on large panels. They’re a great way to let kids explore texture, color, and spatial awareness. We started with just a few basic materials — different colored sands, a shallow tray, and a small container of water — and it was enough to keep us busy for hours.
I found that the easiest way to begin was by using a small wooden tray. The texture of the wood helped the sand hold its shape, and it made cleanup easier later. We would spend about 30 minutes each day making patterns, and it quickly became a favorite activity. The most surprising part was how quickly my daughter picked up on the concept of layers — she would stack different colors to create depth and dimension.[1]
One of the things I love most about these projects is that they’re incredibly flexible. If you only have 10 minutes, you can do a quick sand painting on a small tray. If you have an hour, you can build something more elaborate. The key is to keep it fun and let the process unfold naturally.
When beginning with decorative sand art projects, start with a small tray and a few colors. This keeps the activity manageable and avoids overwhelming the child. As confidence grows, you can expand the scope and complexity of the designs.
How to Choose the Right Materials

I found that the best sands for these projects are fine, non-clumping sands that flow easily. I purchased two different colors — blue and yellow — from a local craft store, and they were perfect for layering. I also found that using a shallow tray with a textured surface helped the sand hold its shape better.
It’s important to avoid any sands that are too coarse or that leave a powdery residue. I learned that through trial and error — I tried one brand that clumped together and was a pain to clean up. It’s worth investing in a few good-quality sands to ensure the project goes smoothly.
Another tip is to always keep a small container of water nearby. It helps to smooth out the sand and create more defined edges in the patterns. I also recommend having a small brush or your fingers ready to blend the colors — this allows for more detail and creativity.[2]
Choose the right materials and let the magic begin.
Related: How to make a mud kitchen
Simple Sand Art for Toddlers
For toddlers, the goal is to keep things simple and safe. I found that using a small wooden tray and a few basic colors was the easiest way to start. My daughter loved mixing the sands together and watching the colors swirl around. She would often make a mess, but it was a controlled one — easy to clean up.
One of our favorites was the 'rainbow swirl' — we would layer different colors in a circular pattern and then pour water over it to create a swirling effect. It was mesmerizing to watch and always a hit with her. Another simple project was making shapes like stars or hearts by placing the sand in specific patterns.
I found that these simple projects helped my daughter develop her fine motor skills and hand-eye coordination. She would use her fingers to move the sand and create different textures. Even though she was only two at the time, she was able to understand the concept of layering and creating patterns.
When working with toddlers, use non-toxic sands and avoid small parts that could be a choking hazard. Keep the projects short and manageable, and always supervise closely to ensure safety.
“When my daughter turned three, I noticed her fascination with the way sunlight scattered through the sand at the beach.”— Messysenses editors
Related: Outdoor mud kitchen diy
Creative Ideas for Sand Art Projects
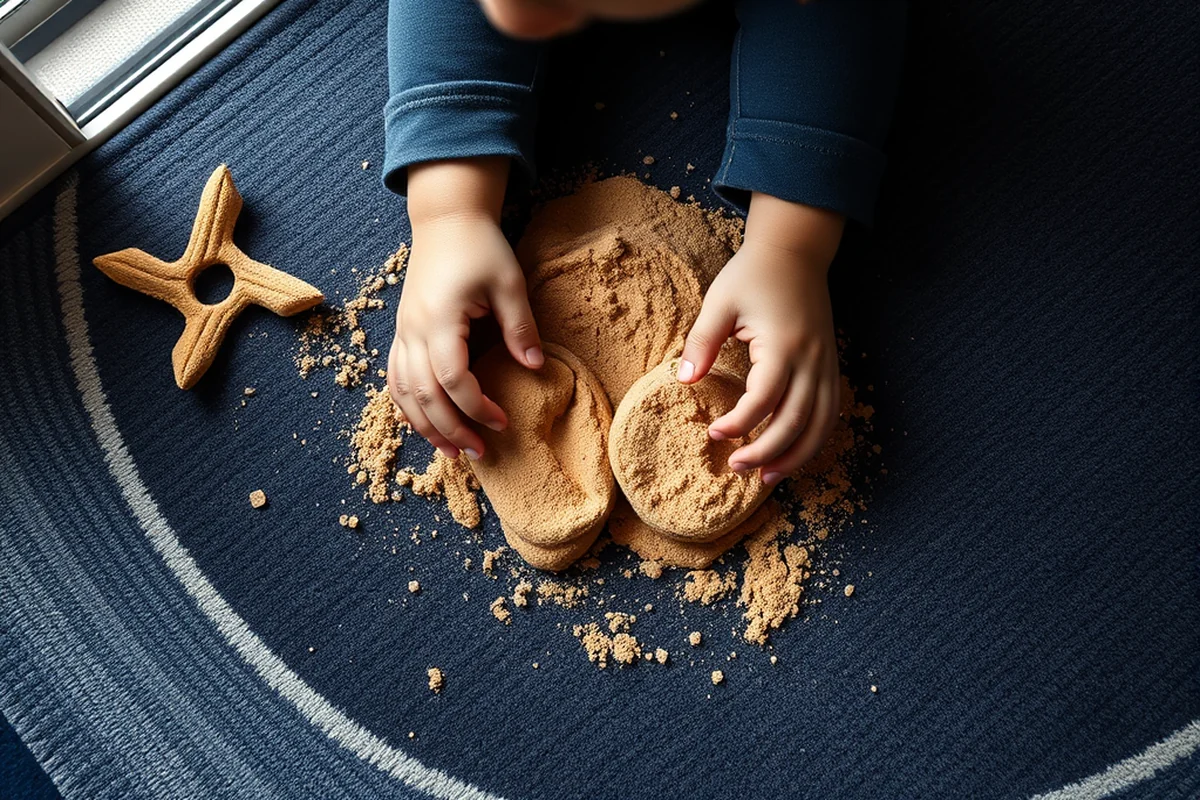
One of my favorite projects was creating a 'sand landscape' on a larger tray. We used different colored sands to represent mountains, rivers, and the ocean. It was a great way to spark creativity and teach her about geography and the environment. We would spend hours adding details and making the scene more realistic.
Another idea was to use a template to create patterns. We would place a cardboard cutout over the tray and use the sand to fill in the design. This helped her develop spatial awareness and gave her a sense of accomplishment when she completed the pattern.
I also tried making 'sand mandalas' by using a circle template and layering different colors in concentric patterns. It was a very meditative and calming activity, and we both enjoyed the process. It was also a great way to teach her about symmetry and balance.
Related: Kids mud kitchen ideas
How to Clean Up After Sand Art Projects
I learned that the key to cleaning up is to do it immediately after the project is complete. I always keep a small container of water and a sponge nearby to help with the cleanup. We would gently sweep the sand off the tray and pour it back into the container for future use.
I found that using a small brush or your fingers to wipe down the tray was the easiest way to remove any residue. It was important to clean the tray thoroughly to avoid any color mixing in future projects. I also made sure to store the sands in separate containers to prevent them from becoming a mess.
One of the biggest mistakes I made early on was leaving the sand in the tray for too long. It would start to dry out and become difficult to clean. Now, I always make sure to clean up right away and store the sands properly. This has made the process much smoother and more enjoyable for both of us.
Related: How to mud kitchen outdoor art
Making Sand Art Projects a Daily Routine
We started making sand art projects every morning after breakfast, and it quickly became a part of our daily routine. It helped my daughter develop a sense of structure and consistency, and it was a great way to start the day with a creative activity.
I found that having a dedicated space for these projects was essential. We set up a small corner in the living room with a tray, a few containers of sand, and a small bucket of water. It made it easy for her to access everything she needed and get started right away.
The most surprising benefit was how these projects helped her focus and stay calm. She would often sit for 30 minutes or more, completely absorbed in her work. It was a great way to give her a break from the chaos of the day and help her develop a sense of mindfulness.
A little sand every day can make a big difference in a child's creativity and focus.
Related: Toddler outdoor mud kitchen
The Long-Term Benefits of Sand Art Projects
Over time, I noticed that my daughter was becoming more confident in her ability to create and express herself. She would often talk about her sand art projects and explain what she had created. It was amazing to see her take ownership of her work and feel proud of it.
I also noticed that she was developing better fine motor skills and hand-eye coordination. She would use her fingers to move the sand and create different textures, which helped her develop strength and control in her hands. It was a great way to support her physical development without any formal instruction.
Most importantly, these projects helped her develop a sense of patience and perseverance. She would often get frustrated when her sand wouldn’t flow the way she wanted, but she learned to take a deep breath and try again. It was a valuable lesson in problem-solving and resilience.
🧘 Gentle Approach
Ideal for younger children or those with short attention spans. Focus on simple, calming activities like color mixing and texture exploration.
⏰ Fast-Track Version
Perfect for busy parents who want a quick and mess-free project. Use pre-made sand art kits or templates to keep things moving quickly.
🧳 Travel/away-from-home
Great for on-the-go parents. Bring a small tray and a few colors in sealed containers to make sand art projects anywhere, anytime.
👨👩👧👦 Multiples
Ideal for families with multiple children. Encourage teamwork by creating large group projects that require collaboration and communication.
🔄 Regression Reset
Perfect for older children who are ready for more complex projects. Use this time to explore new techniques, tools, and materials to expand their creative skills.
| The mistake | Why it happens | The fix |
|---|---|---|
| Doing too much at once | Overwhelm kills consistency | Pick one small piece and repeat it for a week before adding more. |
| Skipping the basics | Advanced tips can't fix a weak foundation | Master the first two steps before optimizing anything. |
Decorative Sand Art Projects
Common Questions
Can I use regular beach sand for these projects?
How long do these sand art projects typically last?
What if my child is hesitant to try sand art projects?
Are there any safety concerns with sand art projects?
References
- Sand Castle & Sculpture Official Contest Rules | City of Alameda (alamedaca.gov)
- Drying and Preserving Plant Materials for Decorative Uses - Ask IFAS (ask.ifas.ufl.edu)
Cite this guide
Messysenses (2026). Decorative Sand Art Projects. https://messysenses.com/decorative-sand-art-projects/
Feel free to cite or share this guide.